 Seattle Exterior
 Building New in Renton? Windows Are a One-Shot Decision
When a home is going up from the ground, the windows go in once — as part of the structural and weatherproofing sequence, tied into the house wrap, flashing, and framing before siding ever gets attached. Get it right and the window becomes a durable part of the building envelope for decades. Get it wrong and the mistake gets buried behind trim and siding, where it won't show up until there's a stain on drywall, a soft spot in a sill, or mold behind a wall a few winters later. In Renton and the rest of King County, where wet weather is the rule rather than the exception, that first installation has to account for water management from day one — not as an afterthought bolted on later.
This page focuses specifically on new-construction window installation for Renton homes — new builds and major additions where windows are set into open framing, not retrofitted into an existing wall. If you're replacing windows in an existing home, that's a different scope of work with its own considerations.
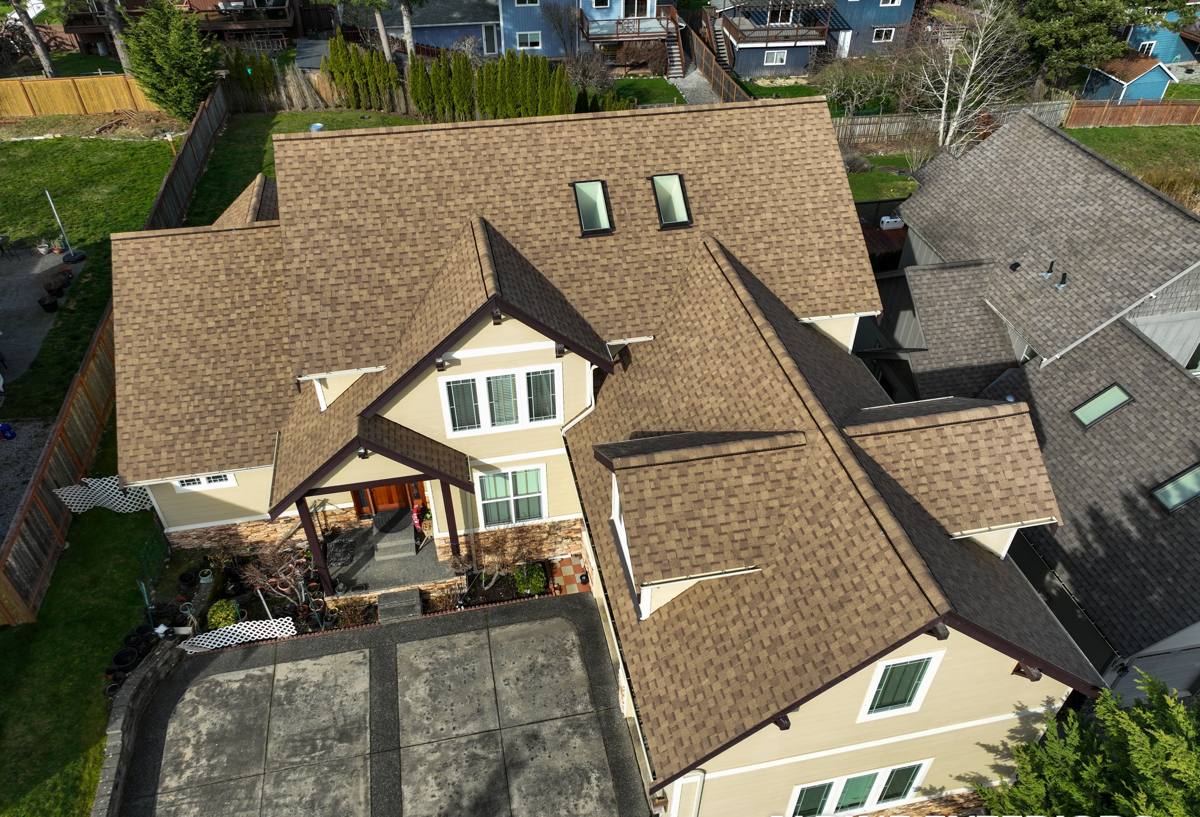
What Renton's Climate Demands From New-Construction Windows
Renton sits in the wet, mild Puget Sound climate zone that defines western King County: long stretches of low-intensity rain through fall and winter, periodic wind-driven storms that push rain sideways into wall assemblies, and a moss season that can run half the year on shaded or north-facing surfaces. None of this is dramatic weather, but it's persistent, and persistent moisture is exactly what finds every gap in a window installation that wasn't detailed correctly.
A few things this climate means in practice for new-construction windows:
- Wind-driven rain during winter storms pushes water uphill against flashing and trim, so laps and overlaps have to be sequenced correctly — not just caulked and hoped for.
- Extended damp periods mean any trapped moisture behind a window doesn't get a chance to dry out between rain events, which is why drainage paths (not just sealant) matter more here than in drier climates.
- Moss and organic growth on window sills, trim, and nearby siding hold moisture against the building longer, so material choice and drainage detailing at the sill matter for long-term durability.
- Salt-influenced marine air moving through the broader Puget Sound region can accelerate corrosion on certain hardware and fasteners over time, which is a reason to spec corrosion-resistant components rather than the cheapest option in the catalog.
None of this means Renton needs exotic products. It means the installation details — flashing sequence, sill pan drainage, sealant placement — carry more weight here than they would in a drier part of the country.
Getting the Installation Right the First Time
Flashing and Weather Barrier Integration
The window itself is only part of the water-management system. The other part is how it ties into the house wrap, the framing, and the flashing tape or membrane around the rough opening. Water needs a planned path out of the wall assembly if it ever gets past the exterior cladding — and in a wet climate like this one, it eventually will, even with good siding and good caulking.
Correct sequencing generally follows this order: sill pan flashing first (so any water at the bottom of the opening drains outward, not into the wall), then the window itself, then the side flashing lapped over the sill pan, then the head flashing lapped over the sides, and finally the house wrap integrated so everything overlaps like shingles — water always moving down and out, never trapped behind a lap. Skip or reverse any one of these steps and you've built a place for water to collect instead of drain.
Working With Your Builder's Timeline
New-construction window work happens on the builder's schedule, sandwiched between framing inspection and siding installation. That means coordination matters — showing up on time, having the right rough opening dimensions confirmed in advance, and not holding up the trades that come after. We work directly with general contractors and framers on Renton job sites to keep this handoff clean, so window installation doesn't become the bottleneck that pushes siding and trim behind schedule.
Choosing the Right Window for New Construction
Frame material is one of the bigger decisions on a new build, and it's worth making deliberately rather than defaulting to whatever's cheapest per unit. Here's how the common options compare for a wet Pacific Northwest climate:
| Frame Material | Moisture Performance | Maintenance | Typical Cost |
|---|---|---|---|
| Vinyl | Good — won't rot, but seals and welds matter | Low | Lower |
| Fiberglass | Excellent — dimensionally stable in wet/dry cycling | Low | Mid to higher |
| Wood-clad (exterior clad, wood interior) | Good exterior protection, but cladding seams need correct detailing | Moderate | Higher |
| Aluminum | Poor thermal performance, prone to condensation in this climate | Low | Varies |
We don't push one brand or material as the only right answer — the right choice depends on your budget, your home's design, and how much long-term maintenance you want to take on. What we do insist on, as a matter of our own standard, is products with a track record of stable performance in wet, cyclical climates, and installation hardware rated for coastal or marine-influenced exposure given the salt-tinged air common across the Puget Sound basin. A window that performs beautifully in a dry climate can behave very differently after a few wet Renton winters.
Our Process for New-Construction Window Installs
- Plan review and rough opening verification — we confirm window schedule, sizes, and rough opening dimensions against the architectural plans before anything ships, catching mismatches before they become a job-site delay.
- Sill pan and flashing installation — sill pans set and flashed before the window ever goes in, establishing the drainage path first.
- Window setting and shimming — units set plumb, level, and square, shimmed at manufacturer-specified points to avoid frame distortion that can cause operational problems later.
- Fastening per manufacturer specification — nail fin or flush fin, fastened at the spacing and location the manufacturer requires to preserve the warranty and structural performance.
- Flashing tape and house wrap integration — side and head flashing lapped correctly and tied into the building's weather-resistive barrier.
- Interior and exterior sealant — sealed where required, left open where the design calls for drainage rather than a sealed dam.
- Final walkthrough — every unit checked for operation, square, and seal before we sign off, so problems surface before drywall and siding cover the work.
Cost Factors for New-Construction Windows in Renton
New-construction window costs vary by project, but the main variables are consistent across jobs. Understanding them helps you compare quotes accurately instead of just comparing bottom-line numbers.
| Factor | Why It Affects Cost |
|---|---|
| Window count and size | More units and larger openings mean more material and labor |
| Frame material | Vinyl, fiberglass, and wood-clad carry different unit costs |
| Glass package | Double vs. triple pane, low-E coatings, and gas fill affect price and performance |
| Site access and story height | Second- and third-story installs require more equipment and time |
| Coordination complexity | Custom shapes, large sliders, or specialty units take longer to set and flash correctly |
We'll walk through these factors specific to your plan set during a free estimate, so you know what's driving the number rather than getting a single lump figure with no explanation.
Common Mistakes We See in New Construction
Most window problems on new builds trace back to a handful of avoidable errors during the original install. If you're vetting a contractor or a builder's window subcontractor, these are worth asking about directly:
- Sill pan skipped or improvised with sealant alone instead of a proper drainage-capable flashing
- Flashing lapped in the wrong order, directing water into the wall instead of away from it
- Fasteners placed off the manufacturer's spacing, risking both warranty voidance and frame distortion
- Windows set out of square, causing hardware wear and air leaks that show up within a year or two
- House wrap not properly integrated with window flashing, leaving a gap in the drainage plane
- Sealant used where a drainage gap should have been left open, trapping moisture instead of releasing it
Any one of these can look fine on installation day and cause real damage two or three wet seasons later — which is exactly why the installation crew's experience with this specific climate matters as much as the window product itself.
Why a Local Renton Crew Matters
A crew that installs windows across King County through repeated wet winters develops a working sense for how this region's weather actually behaves against a building — not the generic manufacturer instructions alone, but how driving rain hits a given elevation, how moss builds up on shaded sills, and where standing water tends to collect on a typical Renton lot. That local pattern recognition is what catches problems before they're built into the wall. We coordinate directly with builders and general contractors on new-construction sites throughout the area, so the window trade fits cleanly into the broader schedule instead of becoming a source of delay or rework.
If you're planning a new build or major addition in Renton and want windows installed by a crew that treats the flashing and drainage details as seriously as the product itself, we're happy to review your plans and walk the site. Reach out for a free, no-pressure estimate — we'll give you straight answers about what your project needs and what it will cost.