 Seattle Exterior
 Why Queen Anne Homes Are Hard on Siding
Queen Anne sits high above Elliott Bay and the Ship Canal, which means homes here catch weather that lower, more sheltered Seattle neighborhoods don't see as hard. Elevation and open exposure bring stronger wind-driven rain against west- and south-facing walls, and the proximity to Puget Sound puts a steady dose of salt-laden air into the mix. Add King County's long, gray, wet season and the shaded north sides of hillside lots that barely dry out between storms, and you get a climate that punishes siding materials that can't handle sustained moisture contact.
That combination — driving rain, salt air, and a moss season that can run eight or nine months out of the year — is exactly why we treat siding selection and installation detail as the two things that make or break a job here, not an afterthought behind color and trim choices.
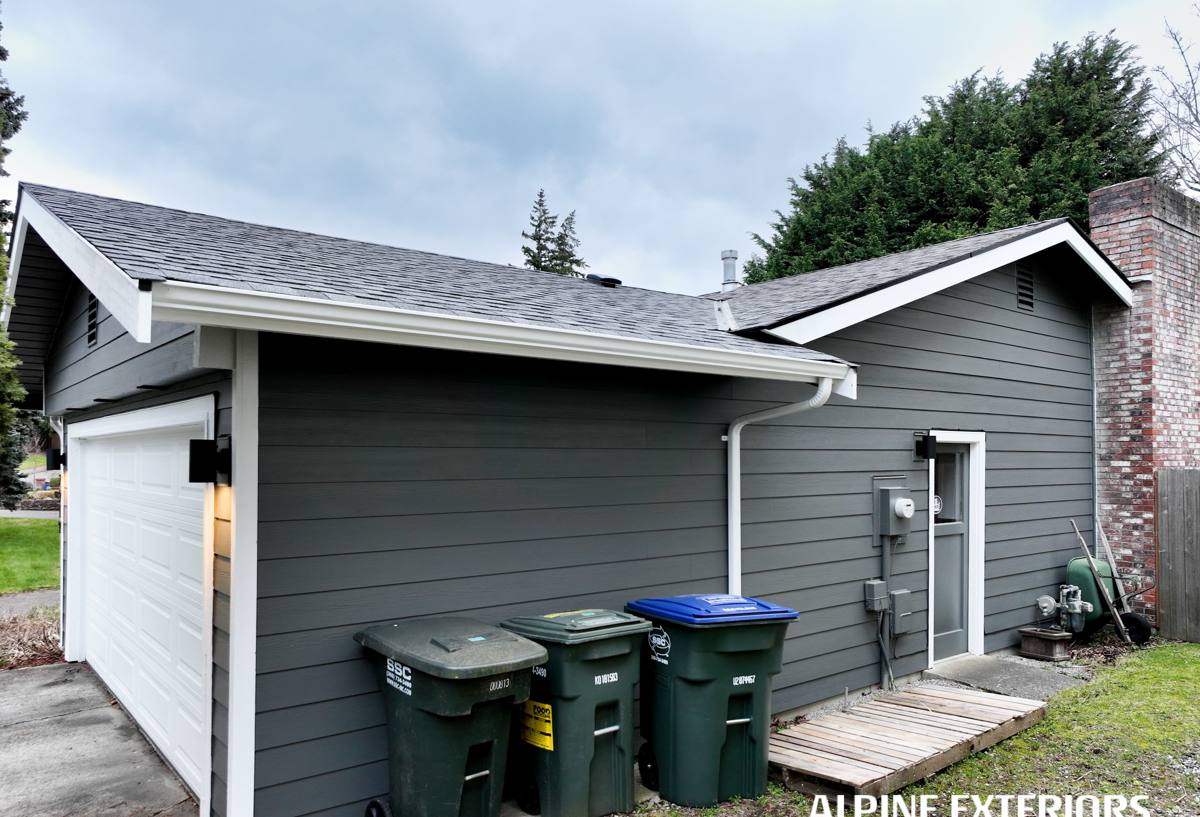
What This Climate Actually Does to Siding
Moisture, Not Just Rain
The bigger issue isn't rainfall totals — it's how long a wall assembly stays wet. Queen Anne's tree cover, hillside shading, and marine humidity mean siding and the wall behind it can stay damp for days after a storm passes. Wood-based and wood-fiber products absorb that moisture at cut edges, fastener holes, and butt joints, and repeated wet-dry cycling is what eventually causes swelling, delamination, and paint failure.
Moss and Organic Growth
Moss doesn't just grow on roofs. On shaded siding, especially horizontal laps with poor drainage detailing, moss and algae hold moisture directly against the surface year-round. On materials that aren't dimensionally stable or properly sealed at cut edges, that constant contact accelerates rot and coating breakdown.
Salt Air and Coastal Corrosion
Homes closer to the water side of the neighborhood deal with airborne salt that corrodes exposed fasteners and degrades lower-quality paint films faster than inland areas. Correct fastener selection and a factory finish that's actually formulated to resist UV and moisture — not just field-painted lumber — matters more here than in drier parts of the state.
Why We Install James Hardie Fiber Cement — and Nothing Else
We install James Hardie fiber cement exclusively. We don't install vinyl, LP SmartSide, cedar, primed spruce, Cemplank, or Allura. That's a deliberate standard, not a sales preference, and it comes down to how each of those products actually performs in a wet, marine climate over 20-plus years rather than how they look on install day.
- Fiber cement is non-combustible, which matters given Washington's increasing wildfire smoke and ember exposure seasons even in urban Seattle.
- It doesn't absorb and swell the way wood-fiber composite products can at cut edges and joints when they stay wet for long stretches.
- Hardie's ColorPlus factory finish is baked on and warranted separately from field paint, which holds up better against UV and salt air than most site-applied coatings.
- James Hardie engineers specific product formulations by climate zone, including a version built for consistently wet, humid regions like ours — that's not something every fiber cement or composite manufacturer does.
- The warranty structure is transferable and backs both the substrate and the finish, which protects resale value on a neighborhood where homes turn over regularly.
None of that means other products are junk — cedar looks great fresh, vinyl is cheap, LP has its market. It means that after years of tear-offs and repair calls on Queen Anne's hills, we standardized on the one product line whose failure modes we don't see repeating.
What a Correct Fiber Cement Installation Involves
Fiber cement siding is only as good as the assembly behind it. A rushed or undertrained crew can install James Hardie boards and still leave a wall vulnerable to the exact moisture problems the product is supposed to resist. On every job we run through the same non-negotiables:
Drainage Plane and Rain Screen Gap
A weather-resistive barrier goes on first, followed by furring or a drainage mat that creates a gap behind the siding. That gap lets bulk water that gets past the cladding drain and dry instead of sitting against the back of the board — critical in a climate where walls rarely get a long dry stretch.
Flashing at Every Penetration
Windows, doors, hose bibs, light fixtures, and deck ledgers all need proper flashing integrated with the water-resistive barrier, not just caulk. Caulk is a maintenance item, not a waterproofing strategy, and it's the first thing to fail in this climate.
Fastener Pattern and Clearances
Hardie specifies fastener type, spacing, and minimum clearance from grade, decks, and roof lines. Skipping the clearance rules is one of the most common mistakes we see on older installs — siding run too close to grade or a roofline wicks moisture straight into the board regardless of the product's own durability.
Joint Treatment and Caulking Limits
Butt joints get factory-cut or field-cut edges properly sealed per Hardie's application instructions, using compatible sealants at approved locations only — not blanket-caulking every seam, which traps moisture instead of shedding it.
Our Process for Queen Anne Projects
- On-site assessment. We walk the exterior, check current siding condition, look at the sheathing and moisture barrier where old siding comes off in test spots, and note site-specific issues like hillside grading, retaining walls, or limited access.
- Scope and estimate. You get a written scope that separates siding, trim, flashing repair, and any sheathing replacement so you know exactly what's being done and why.
- Tear-off and inspection. Old cladding comes off, and we inspect the sheathing underneath before anything new goes up. Hidden rot gets flagged and addressed before it's covered again.
- Weather barrier and drainage plane. New water-resistive barrier, flashing at all penetrations, and a rain screen gap go in before a single piece of siding is hung.
- Hardie installation to spec. Boards, fasteners, and joint treatment follow James Hardie's published installation guidelines, not shortcuts.
- Trim, caulk, and touch-up. Factory-finished ColorPlus boards need touch-up paint only at cut edges and fastener heads — matched to the specific color line.
- Final walkthrough and cleanup. We walk the job with you, clear debris, and confirm everything matches the agreed scope.
Signs Your Current Siding Is Already Failing
Because of how gradual moisture damage is in this climate, homeowners often don't notice a problem until it's expensive. Watch for these on a Queen Anne home:
- Dark staining or persistent moss growth on north- and west-facing walls that doesn't wash off with a light cleaning
- Soft or spongy spots when you press on siding near the bottom courses or under windows
- Paint that's peeling or bubbling rather than just fading, especially on wood-based siding
- Visible swelling or a puffy look at panel edges and seams
- Gaps opening up at butt joints or trim where caulk has pulled away
- A musty smell in rooms along an exterior wall, which can indicate moisture getting past the cladding
Any one of these is worth a look before it turns into sheathing or framing repair.
Cost Factors on a Queen Anne Siding Project
Every home is different, but the same handful of variables drive most of the cost difference between projects in this neighborhood:
| Factor | Why It Matters Here |
|---|---|
| Number of stories and roof pitch | Queen Anne's hillside lots often mean steeper access and more scaffolding or lift work than a flat-lot home |
| Condition of existing sheathing | Hidden rot from long-term moisture exposure adds repair scope that isn't visible until tear-off |
| Trim and architectural detail | Older Queen Anne homes often carry more window trim, corner boards, and detail work than newer builds |
| Siding profile choice | Lap width, shingle-style panels, and board-and-batten each have different material and labor costs |
| Color program | Factory-applied ColorPlus finishes cost more upfront than field-painted trim but need far less repainting over time |
| Site access and staging | Narrow lots, steep driveways, and limited street parking common on the hill can add labor time |
Maintenance Once It's Installed
Correctly installed James Hardie siding is low-maintenance, but "low" isn't "none" in this climate. A short annual routine keeps it performing for decades:
- Rinse siding once or twice a year to clear pollen, road grime, and early moss growth before it takes hold
- Trim back plants, shrubs, and tree limbs that keep any section of wall shaded and damp longer than the rest of the house
- Check caulking at trim and penetration points annually and re-caulk only where it's cracked or pulled away
- Touch up any exposed cut edges or fastener heads with matched paint if they weren't sealed during installation
- Keep gutters clear so overflow doesn't run down the wall face instead of through the downspouts
Why a Local Queen Anne Crew Matters
A crew that already works this neighborhood knows its quirks before they show up on your job: the older housing stock with layered remodel history, the steep and narrow lots that complicate material staging, and the City of Seattle permitting process that governs exterior work on many of these properties. That familiarity shows up in fewer surprises mid-project — we're not learning Queen Anne's hillside access challenges or its microclimate behavior on your dime.
It also means accountability. A crew that plans to keep working this neighborhood for years has every reason to install correctly the first time and stand behind the warranty if something needs attention down the road.
If you're weighing a siding replacement or repair in Queen Anne, we're happy to take a look and give you a straight, no-pressure estimate — just fill out the form below.