 Seattle Exterior
 New-Construction Windows on Beacon Hill: What "Correct" Actually Means
Beacon Hill sits on a ridge above the Duwamish Valley, with exposure that shifts block by block depending on elevation and which direction a house faces. Some lots catch steady wind off the water views to the west and south, others sit tucked behind trees and neighboring homes with almost no direct exposure at all. New-construction windows have to be selected and installed with that variation in mind, not treated as a one-size-fits-all product pulled off a truck.
"New-construction" is a specific term in the window trade, and it matters here. These are windows with a nailing fin around the perimeter, meant to be installed into a wall that's open to the studs and building wrap — new builds, additions, dormers, and full-tear-out remodels. That's different from a pocket or insert replacement window, which slides into an existing frame without disturbing the siding. If your project involves framing that's open right now, or will be once demo starts, new-construction windows are the right category to be looking at.
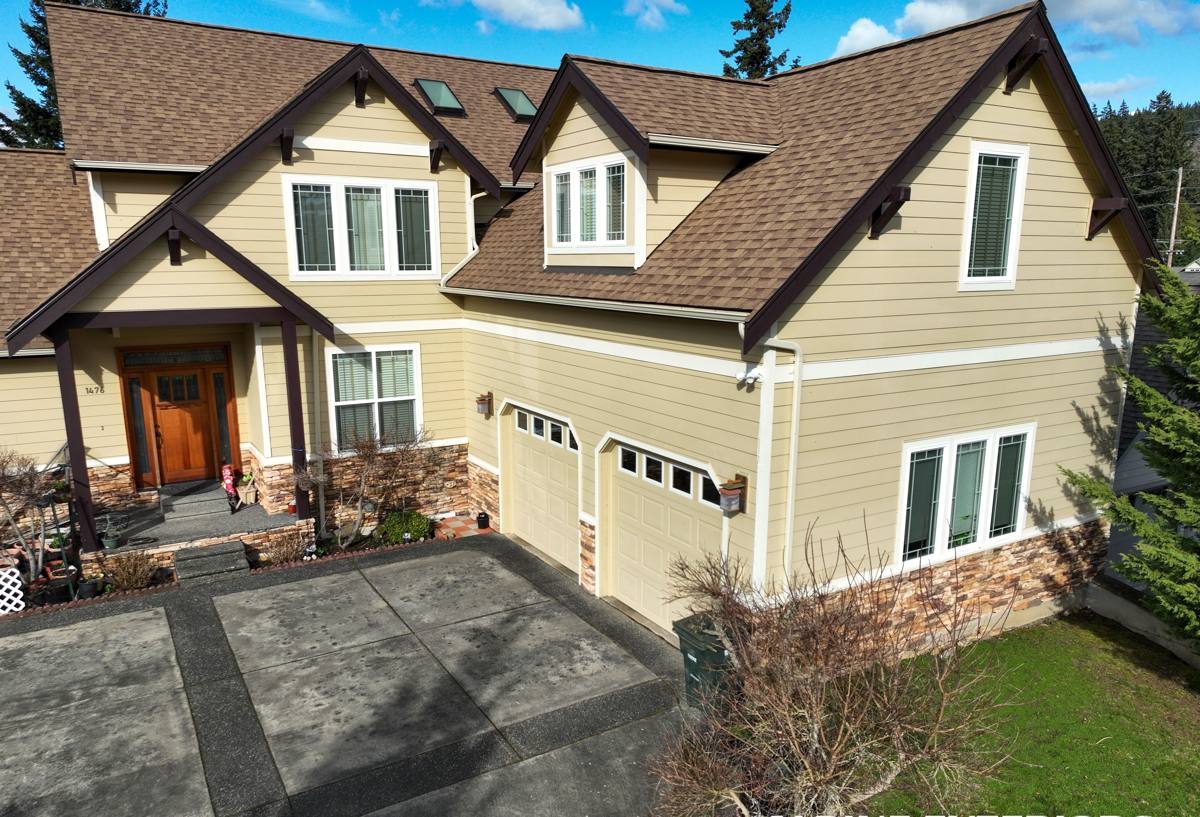
What Seattle's Climate Does to a Window Opening
King County's marine climate is mild on temperature but hard on moisture. Beacon Hill homes deal with three things year-round that directly affect window performance and longevity:
- Driving rain — Pacific storms push rain sideways, not just down, which means flashing details around the window opening matter more here than in drier climates. A window that's watertight on a calm day can still leak during a wind-driven January storm if the flashing sequence was rushed.
- Salt-tinged air — Homes with any exposure toward Puget Sound or Elliott Bay pick up airborne salt that accelerates corrosion on hardware, screws, and unprotected metal flashing over time.
- A long moss and mildew season — Cool, damp conditions run from fall through spring. Anything that traps moisture against wood trim or sill framing — a missing sill pan, a gap in the weather-resistive barrier, a caulk joint used as the only defense — becomes a slow rot problem instead of a quick fix.
None of this is exotic. It's the same climate every Seattle contractor works in. But it's a reminder that the quality of a new-construction window installation is decided by what's underneath the trim, not by the window itself.
What a Correct Installation Involves
A new-construction window is only as good as the opening it's set into. The sequence matters, and skipping a step is exactly how a wall stays dry for a year or two before a leak shows up as stained drywall or soft trim.
The build-up, in order
- Rough opening checked for square, level, and correct size before the window ever shows up on site.
- Sill pan flashing installed to shed any water that gets past the window back out, not down into the wall cavity.
- Weather-resistive barrier integrated with the flashing using a proper shingle-lap sequence — each layer overlapping the one below it, so water is always directed outward and down.
- Window set, shimmed for level and square, and fastened through the nailing fin per the manufacturer's schedule.
- Head flashing installed last, lapping over the top of the window and tucked behind the barrier above it.
- Interior sealed and insulated around the frame with low-expansion foam or backer rod and sealant — not stuffed with excess foam that can bow the frame.
- Exterior trim and sealant joints finished with a bead that's tooled properly, not just smeared on.
Every one of those steps is invisible once the siding and trim go back on. That's exactly why it has to be done right the first time — there's no "checking it later" once the wall is closed up.
Choosing the Right Frame and Glass for This Climate
Frame material and glazing package both affect how a window holds up to Seattle's rain and how it performs on energy bills. There's no single "best" choice — it depends on the home, the budget, and how exposed the opening is.
| Frame Material | How It Handles This Climate | Trade-Offs to Know |
|---|---|---|
| Vinyl | Won't rot or corrode; performs well against moisture and salt air | Lower cost, but frame color and size options are more limited |
| Fiberglass | Very stable in temperature swings; strong resistance to moisture and expansion | Higher upfront cost than vinyl |
| Wood-clad | Exterior cladding protects the wood from rain when properly flashed | Relies heavily on correct installation and flashing — cladding failures are harder to spot early |
| Aluminum | Strong and slim sightlines, common on view-oriented homes | Conducts heat and cold unless thermally broken; needs a quality finish to resist salt air corrosion |
On the glass side, a dual-pane unit with a low-E coating and an argon gas fill is the practical standard for Seattle's climate — it cuts heat loss in winter and reduces solar gain on the west- and south-facing sides that get more direct exposure. For homes higher on the hill with more wind exposure, we also look at the window's design pressure rating, not just its energy numbers, to make sure it's built to handle that specific opening.
Our Process for a Beacon Hill Project
Whether it's a new build, an addition, or a gut remodel that's opened the walls, the process looks the same:
1. Site visit and opening review
We look at actual exposure — sun, wind, and rain direction for that specific lot — before recommending frame material or glazing package. A sheltered opening on the downhill side doesn't need the same spec as an exposed one facing open views.
2. Product selection and lead-time planning
We help you land on sizes, materials, and glazing that fit the home and the budget, then order with enough lead time that windows arrive when the framing is actually ready for them — a common scheduling gap on new-construction jobs.
3. Installation, flashed to last
Our crews follow the sill-pan-first, shingle-lap sequence described above on every opening, not just the ones that are easy to reach. Every job is treated as if it has to survive a driving winter storm, because on this hill, it will.
4. Inspection-ready documentation
Seattle and King County permitting will typically require inspection of the rough opening and flashing before it's covered, plus a final. We coordinate our schedule around those inspection points so nothing gets closed in before it's signed off.
Why It Matters to Hire a Crew That Already Works This Neighborhood
Beacon Hill's mix of older housing stock, newer infill construction, and additions to mid-century homes means every project has its own quirks — different framing conventions, different slopes, different drainage patterns on hillside lots. A crew that's worked the neighborhood already has a feel for:
- How Seattle's permitting and inspection process runs for window and framing work, so scheduling doesn't stall a project.
- Egress code requirements for bedroom windows, which come up often on additions and basement conversions.
- How hillside grading and drainage on a given block tend to route water toward or away from a foundation wall.
- Realistic lead times for window orders, so a framing crew isn't left waiting — or worse, working around an opening that's tarped for weeks.
None of that shows up on a spec sheet. It's the difference between a window that's installed correctly on paper and one that's installed correctly for this specific hill, this specific weather, and this specific house.
Cost Factors on a New-Construction Window Project
Pricing for new-construction windows varies by size, frame material, glazing package, and how many openings are involved, so we don't quote broad numbers without seeing the plans or the opening. What generally moves the price:
| Factor | Why It Affects Cost |
|---|---|
| Frame material | Vinyl is generally the most affordable; fiberglass and wood-clad cost more upfront |
| Window size and configuration | Large picture windows, sliders, and custom shapes cost more than standard operable units |
| Glazing package | Upgraded low-E coatings, gas fills, or impact-rated glass add cost but improve performance |
| Exposure and wind rating | Openings on more exposed parts of the hill may need a higher design-pressure rating |
| Number of openings and access | More windows per trip and easier access generally lower the labor cost per unit |
A Practical Checklist Before You Order Windows
- Confirm whether your project needs new-construction windows (open framing) or replacement/insert windows (existing frame stays).
- Have final rough opening sizes locked before ordering — changes after ordering cause delays and sometimes restocking costs.
- Ask what flashing sequence will be used and confirm it includes a sill pan, not just caulk and hope.
- Check the glazing spec against the exposure of that wall, not just a blanket standard for the whole house.
- Confirm who's scheduling the inspection and at what point in the build it needs to happen.
- Ask about warranty coverage on both the window unit and the installation labor — they're usually separate.
If you're planning an addition, a new build, or a remodel on Beacon Hill and want to talk through what your openings actually need, we're happy to take a look and put together a free, no-pressure estimate — no obligation, just a straight answer about what the job requires.