 Seattle Exterior
 New-Construction Windows Built for Green Lake's Climate
Green Lake sits inside Seattle's broader marine climate zone, and that means every window on a new-construction project has to answer to the same conditions the rest of King County deals with: long stretches of driving rain, salt-laden air moving in off Puget Sound, and a moss and mildew season that can run more than half the year. New-construction windows aren't just "new" versions of what came before — they're installed differently, sealed differently, and need to be specified differently than a swap-in replacement window. Getting that installation right the first time matters more here than in drier climates, because a poorly integrated window in this region doesn't just leak air. It lets in water that has nowhere to go, and that leads to rot, mold, and sheathing damage long before anyone notices a draft.
Why This Neighborhood Is a Little Different
Homes around Green Lake range from older bungalows getting additions to full teardown-rebuilds and new infill construction. That mix means we're often working alongside other trades — framers, siding crews, roofers — on a job that isn't finished yet, which is exactly when window installation has to be sequenced correctly. Unlike a retrofit into an existing wall, new-construction window work happens while the wall assembly is still open, which is both an opportunity and a responsibility: it's the one chance to build the water management system around the window correctly, because once the siding goes on, that work is hidden for the life of the house.
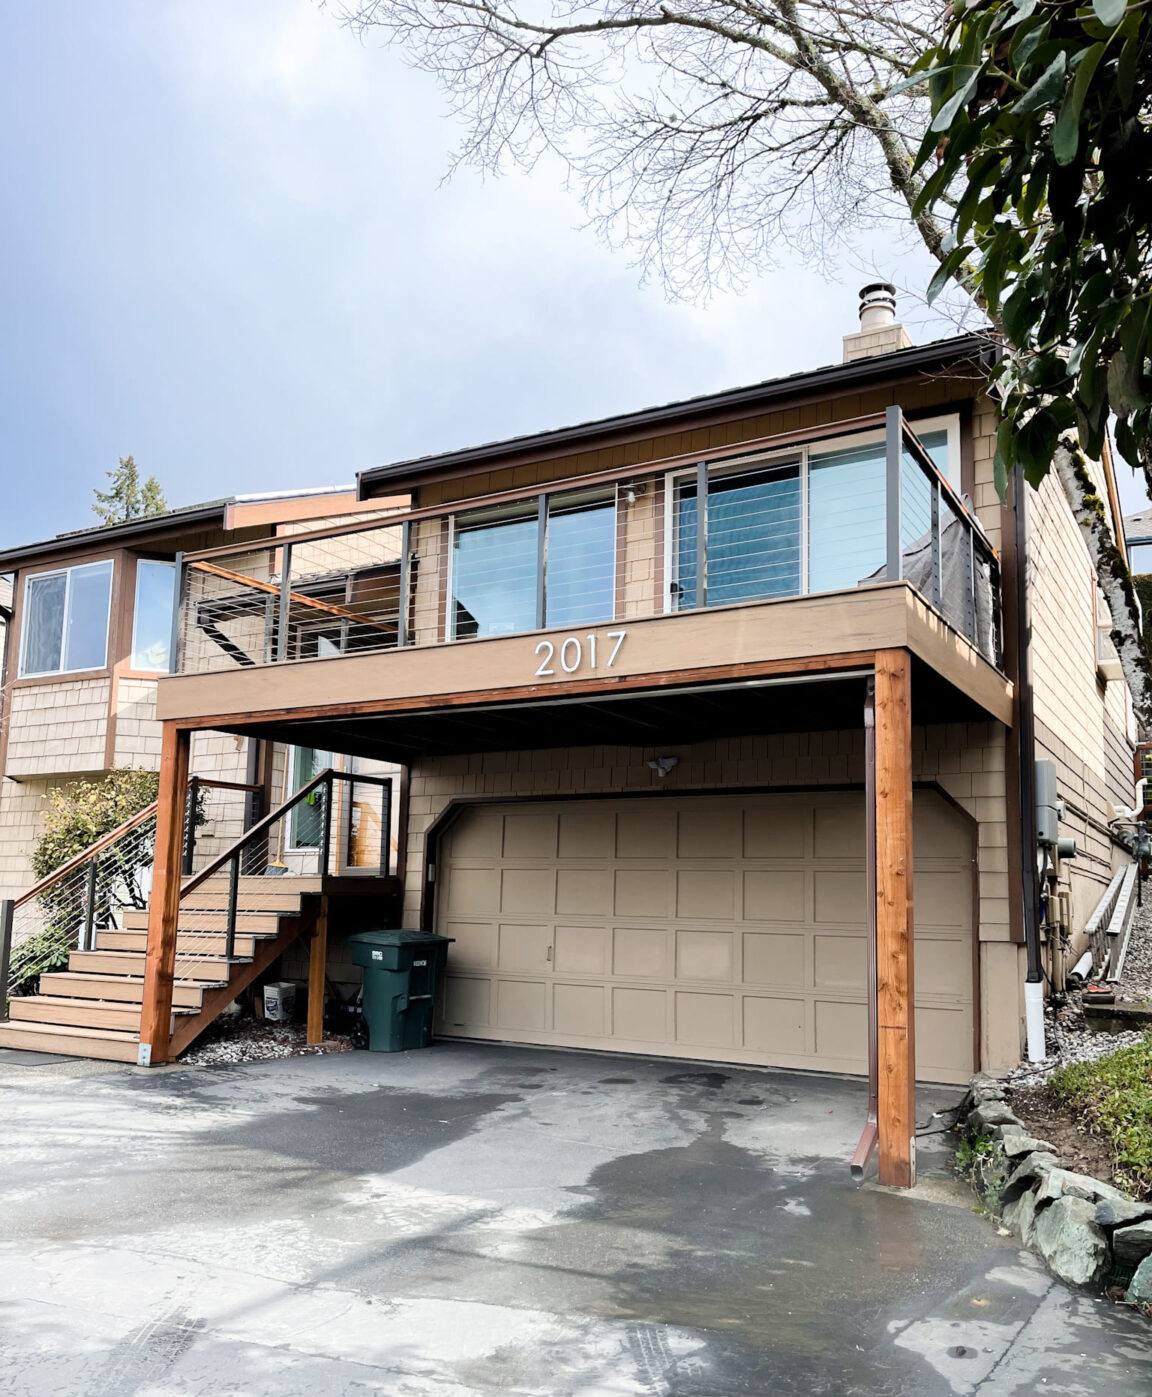
New-Construction vs. Replacement Windows: Know the Difference
Homeowners planning an addition or rebuild in Green Lake sometimes assume "new-construction window" just means "brand new window," but it's a specific installation method, not just a product category.
- New-construction windows have a nailing fin (flange) around the perimeter that gets fastened directly to the stud framing and integrated with the weather-resistive barrier (WRB) and flashing before siding goes on.
- Replacement windows (sometimes called pocket or insert windows) are sized to fit inside an existing, finished frame, with no nailing fin, relying on the old frame and trim for weatherproofing.
- New-construction installation gives us direct control over flashing and drainage planes — the parts of the assembly that actually keep wind-driven rain out of the wall cavity.
- Replacement installation is faster and less invasive, but it depends entirely on the condition of the existing frame, which isn't an option on new builds or full-opening remodels.
If your project involves opening the wall to the studs — a new addition, a full remodel, or ground-up construction — you want new-construction windows installed correctly, not a compromise.
What a Correct New-Construction Window Job Actually Involves
The window itself is only part of the job. In a climate like Seattle's, the flashing and drainage detailing around the window often matter more than the window's brand or price point. A correct installation includes:
- Sill pan flashing at the rough opening, sloped to drain water outward rather than letting it pool against the sill.
- Weather-resistive barrier integration using a proper shingle-lap sequence — each layer overlapping the one below so water is always directed down and out, never trapped behind the window.
- Correctly lapped head, jamb, and sill flashing tape or metal flashing, installed in the right order relative to the WRB.
- Backer rod and sealant at the interior and exterior, sized and placed to allow the assembly to manage minor moisture intrusion rather than trap it.
- Shimming and fastening that keeps the window square and doesn't rack the frame, which affects both operation and long-term seal integrity.
Skip any one of these steps and the window can look fine and still let water into the wall cavity. That's the failure mode we see most often on jobs we're called in to fix — not a bad window, but a rushed or out-of-sequence installation around a perfectly good one.
Choosing Window Products for a Green Lake Build
There isn't one "best" window for this climate, but there are real trade-offs between frame materials worth understanding before you spec a whole house.
| Frame Material | Moisture Performance | Maintenance | Typical Fit |
|---|---|---|---|
| Vinyl | Good; won't rot, but seals and corners are the weak point over time | Low | Budget-conscious additions and full builds |
| Fiberglass | Excellent; dimensionally stable in wet-dry cycling | Low | New construction where longevity matters most |
| Wood-clad | Good on the exterior clad side; interior wood needs protection from condensation | Moderate to high | Traditional or historic-style homes near the lake |
| Aluminum | Poor without a thermal break; prone to condensation in our humidity | Low | Rarely recommended for residential in this climate |
We steer most Green Lake homeowners toward fiberglass or a well-built vinyl line for new construction, mainly because both hold up to repeated wet-dry cycling without the long-term maintenance burden of exposed wood. Wood-clad is still a solid choice when the look matters and the owner is prepared for the upkeep — it's a legitimate trade-off, not a wrong answer.
Glass and Performance Ratings
Whatever frame material you choose, look at the NFRC label, not just the marketing name. For this region, a low U-factor (heat loss) matters more than solar heat gain coefficient, since Seattle doesn't get the intense summer sun that drives cooling-load concerns in warmer climates. Double-pane with a low-E coating and argon fill is the practical standard for new construction here; triple-pane can make sense on north- or west-facing walls that take the brunt of winter storms, but it's rarely necessary on every elevation.
Our Installation Process
- Rough opening inspection — we verify the opening is square, correctly sized, and that sheathing and framing are sound before any window goes in.
- Sill pan and flashing installation — sloped sill pan first, then jamb and head flashing integrated with the WRB in the correct shingle-lap order.
- Window set and shim — the unit is set plumb, level, and square, then shimmed at load-bearing points, not just at the corners.
- Fastening per manufacturer spec — nailing fin fastened at the intervals and locations the manufacturer requires to preserve the warranty.
- Insulation and air sealing — low-expansion foam or backer rod around the perimeter, avoiding over-filling that can bow the frame.
- Interior and exterior sealant — applied last, after flashing and insulation, so the assembly can still shed any water that gets past the outer layers.
- Final operation check — every window is opened, closed, and locked to confirm it operates correctly before we consider the install finished.
Where We See Installation Mistakes Go Wrong
Most of the window problems we get called out to look at in the Green Lake area trace back to a handful of repeat issues:
- Flashing installed out of sequence, so water gets directed behind the WRB instead of over it.
- Sealant used as the primary water barrier instead of a backup to proper flashing — caulk fails eventually; flashing shouldn't have to rely on it.
- Windows fastened before the sill pan is sloped correctly, leaving standing water against the sill.
- Mismatched trades — siding installed before window flashing was fully lapped and inspected.
None of these show up on day one. They show up two or three wet seasons later, as stained drywall, soft trim, or moss creeping into a gap that was never sealed correctly. That lag is exactly why installation quality matters more than most homeowners realize until it's a problem.
Cost Factors for New-Construction Window Projects
| Factor | Why It Affects Cost |
|---|---|
| Number and size of openings | More and larger openings mean more flashing, labor, and material |
| Frame material | Fiberglass and wood-clad run higher than standard vinyl |
| Glass package | Triple-pane or specialty low-E coatings add cost per unit |
| Wall complexity | Multi-story or hard-to-access openings take longer to flash and set safely |
| Project sequencing | Coordinating with framing and siding crews on an active build affects scheduling and labor |
We'll always give you a range up front based on your specific scope rather than a single number pulled before we've seen the plans — new-construction pricing depends too much on the actual opening count and product selection to estimate honestly any other way.
Why It Matters That We Already Work in Green Lake
A crew that regularly works this neighborhood understands how local builders sequence framing, siding, and window installs on the lots common to this part of Seattle, and knows what King County's inspectors expect to see at rough-in on a flashing and WRB detail. That familiarity shortens the back-and-forth on scheduling and reduces the odds of a failed inspection holding up your project. It also means we've already seen how the specific combination of Puget Sound rain patterns and long moss seasons plays out on real installations nearby — not in a manual, but on jobs down the street.
Maintenance Checklist for New-Construction Windows
Once your windows are installed, a little seasonal attention keeps the whole assembly performing the way it was designed to:
- Inspect exterior caulk lines each fall before the heavy rains start; recaulk any cracked or separated joints.
- Clear moss and debris from window sills and adjacent trim — trapped moisture under moss is a slow, steady source of rot.
- Check weep holes on vinyl and fiberglass frames to make sure they're clear and draining.
- Watch for condensation between panes, which signals a failed seal and warranty claim, not a cleaning issue.
- Operate every window at least once each season to keep hardware and weatherstripping from sticking or compressing unevenly.
If you're planning an addition, remodel, or new build near Green Lake and want windows installed the way they should be for this climate, we're happy to walk the plans with you and put together a free, no-pressure estimate using the form below.