 Seattle Exterior
 New-Construction Windows in Rainier Valley
Rainier Valley is in the middle of a long building wave — additions, teardown-rebuilds, ADUs, and new single-family homes going up on lots that held older houses for decades. Every one of those projects needs windows installed the right way the first time, because a new-construction window opening only gets built once. Get the flashing sequence or the water-resistive barrier (WRB) integration wrong, and the mistake gets sided over, sheetrocked over, and forgotten about until it shows up as a stain on a wall or a soft spot in a sill years later.
We install new-construction windows for builders, general contractors, and homeowners managing their own project across Rainier Valley and the rest of Seattle. This page focuses specifically on that scope of work — windows going into a framed opening for the first time, not swapping out an old window for a new one in an existing wall.
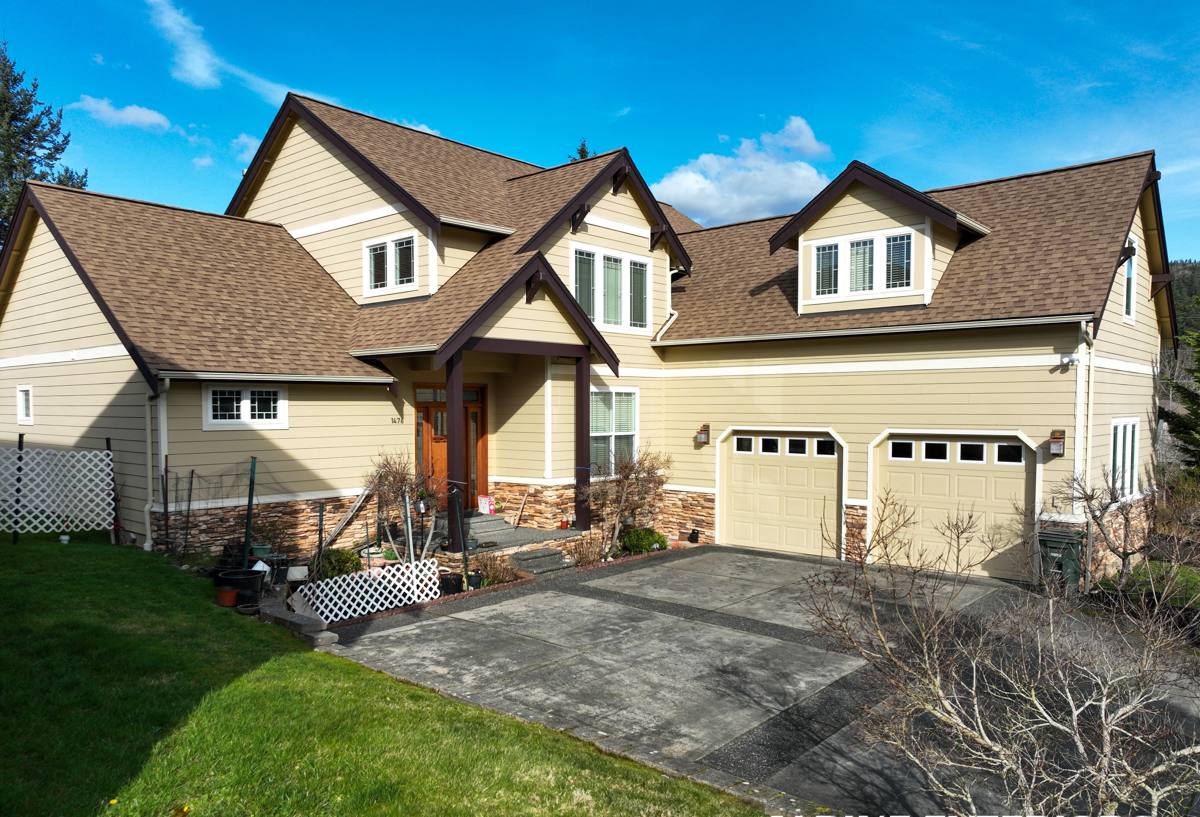
What Rainier Valley's Climate Demands from a New Window Opening
King County's marine climate is hard on building envelopes, and Rainier Valley gets the full package: salt-laden air moving in off Puget Sound and Lake Washington, driving rain that comes in sideways during winter storms, and a moss season that runs longer here than in drier parts of the country. None of that is dramatic on any single day, but it's relentless over a 30- or 50-year window lifespan.
What that means for a new-construction window opening:
- Flashing has to shed water outward and downward at every layer, with no reliance on caulk alone to keep water out long-term.
- The WRB (house wrap) has to lap correctly with the window flange so water draining down the wall never gets behind the window instead of over it.
- Sills need a back-slope and a proper pan flashing so any water that does get past the glazing has somewhere to go besides the framing.
- Materials touching the exterior need to tolerate sustained dampness and moss/algae growth without breaking down early.
Rainier Valley's mature tree canopy in many pockets of the neighborhood also means more shade, more standing moisture on north-facing walls, and slower drying after storms — all reasons the installation details matter more here than they would in a drier climate.
New-Construction Windows vs. Replacement Windows
These are two different jobs with different tools, sequencing, and failure points. Confusing them is one of the most common reasons new-construction windows end up leaking.
| Factor | New-Construction Windows | Replacement Windows |
|---|---|---|
| Window type | Nail-fin (flange) windows fastened directly to sheathing | Pocket or insert windows fit inside the existing frame |
| Water management | Built into the flashing and WRB sequence during framing | Relies on the existing frame's condition, sealed at perimeter |
| Timing in the build | Installed after framing/sheathing, before or during siding | Installed anytime, independent of siding schedule |
| Coordination needed | Close coordination with framer, WRB installer, and sider | Coordination mainly with interior/exterior trim |
| Opening size flexibility | Opening is built to the window, full design flexibility | Limited to the existing rough opening size |
Because a new-construction window is fastened to bare sheathing and depends on the surrounding WRB and flashing tape to work as a system, the installer's sequencing matters as much as the window product itself. This is also why we don't treat new-construction installs as a job we can slot in loosely around a builder's schedule — the timing has to line up with framing and WRB work, not happen before or after it.
What a Correct Installation Actually Involves
A new-construction window install is really a sequence of small decisions, each of which has to be right before the next step covers it up.
Sill pan and back-dam
Before the window ever goes in, the rough opening sill gets a sloped or pan-style flashing with a back-dam, so any water that reaches the sill drains outward instead of pooling against the framing or migrating inward.
Flashing tape sequencing
Flashing at the jambs, head, and sill has to be layered in the correct shingle-lap order — sill first, then jambs, then head — so water always moves down and out over the layer beneath it, never behind it.
WRB integration
The house wrap has to lap over the top flange and tuck behind the WRB above the opening, while the sides and bottom lap over the WRB below. Get this reversed and the wall assembly is set up to trap water instead of shedding it.
Fastening and shimming
Nail-fin windows need to be shimmed plumb, level, and square in the opening and fastened per the manufacturer's pattern — not just at the corners — so the frame doesn't rack or bow over time, which is its own source of air and water leaks.
Interior and exterior sealant
Backer rod and sealant at the interior side control air leakage, while exterior sealant is a secondary defense, not the primary one. A job that depends on caulk to do the flashing's job is a job that will eventually leak.
Window Product Considerations
We don't push one frame material for every project — the right choice depends on the home's design, budget, and how much upkeep the owner wants to take on. What we do insist on is choosing products with documented performance and installation instructions we can follow to the letter, rather than anything that asks us to guess at flashing details.
| Frame Material | Typical Strengths | Trade-offs |
|---|---|---|
| Vinyl | Cost-effective, low maintenance, good energy performance | Fewer color/finish options; can expand/contract with temperature swings |
| Fiberglass | Very stable dimensionally, strong, paintable | Higher upfront cost than vinyl |
| Wood / wood-clad | Classic appearance, good insulator | More maintenance, especially exposed wood in a wet climate |
| Aluminum | Slim sightlines, strong for large openings | Poor thermal performance unless thermally broken |
Whatever material a builder or homeowner chooses, Washington's state energy code sets minimum performance requirements for new-construction windows, and those requirements have gotten more stringent over recent code cycles. We check that specified windows actually meet the applicable code requirements before they're ordered, not after they show up on a truck.
How We Work With Builders and Homeowners
Most of our new-construction window jobs come through one of two paths: a general contractor building a new home or addition who needs a window subcontractor they can trust to show up on schedule and get the envelope right, or a homeowner acting as their own project manager on a smaller build who needs someone to handle windows correctly without a GC coordinating every detail for them.
- Plan review — we look at window schedules and rough opening sizes before framing locks in, so problems get caught on paper instead of on site.
- Scheduling around the build — we coordinate directly with the framer and WRB/siding crew so windows go in at the right point in the sequence, not whenever it's convenient for us.
- Ordering and lead times — window lead times can run several weeks depending on size, product line, and season, so we help builders order early enough to avoid holding up the job.
- Installation — flashing, WRB integration, fastening, and sealant done to manufacturer spec, documented as we go.
- Final check — every opening gets inspected for square, level, plumb, and proper flashing lap before we consider the job complete.
What Drives Cost on a New-Construction Window Job
| Factor | Why It Matters |
|---|---|
| Window count and size | More openings and larger units mean more material and labor |
| Frame material and glass package | Vinyl, fiberglass, and wood carry different price points; upgraded glass (low-E, tempered, sound-dampening) adds cost |
| Opening complexity | Bay windows, oversized openings, or unusual shapes take more flashing detail and labor |
| Site access and staging | Tight urban lots common in Rainier Valley can slow material staging and crane/lift needs |
| Scheduling coordination | Tight builder timelines sometimes require accelerated ordering or off-schedule sequencing |
We don't quote new-construction window work off a generic price list — every quote is based on the actual window schedule and site conditions for that project.
Why Hire a Crew That Already Works Rainier Valley
New-construction window work depends on knowing how the specific building conditions in an area tend to play out. Crews that regularly work Rainier Valley and the rest of Seattle already know how King County's permitting and inspection process runs, what the state energy code requires for new builds, and how the local moisture load — driving rain, salt air off the nearby waters, long moss season, shaded lots — plays out on a wall assembly over years, not just on install day. That local pattern recognition is what catches a flashing detail that looks fine on day one but would have failed in year three.
It also means fewer surprises for the builder or homeowner managing the schedule. A crew that's used to coordinating with Seattle-area framers, WRB installers, and inspectors moves through the sequence without the learning curve an out-of-area crew would have on their first Rainier Valley job.
Questions to Ask Before Hiring a Window Installer for New Construction
- Do they install new-construction (nail-fin) windows regularly, or mostly replacement/retrofit work?
- Will they walk through the flashing and WRB sequence with your framer or GC before installation starts?
- Do they check window specs against Washington's energy code requirements before ordering?
- Who inspects each opening after install, and what does that inspection cover?
- Are they clear about lead times so window ordering doesn't become the bottleneck on your schedule?
If you're building, adding on, or replacing an ADU in Rainier Valley and need windows installed correctly from the framing stage forward, we're glad to take a look at your plans. Reach out for a free, no-pressure estimate using the form below — there's no obligation, just a straight answer on what your project needs.