 Seattle Exterior
 New Construction vs. Replacement: Why It's a Different Job
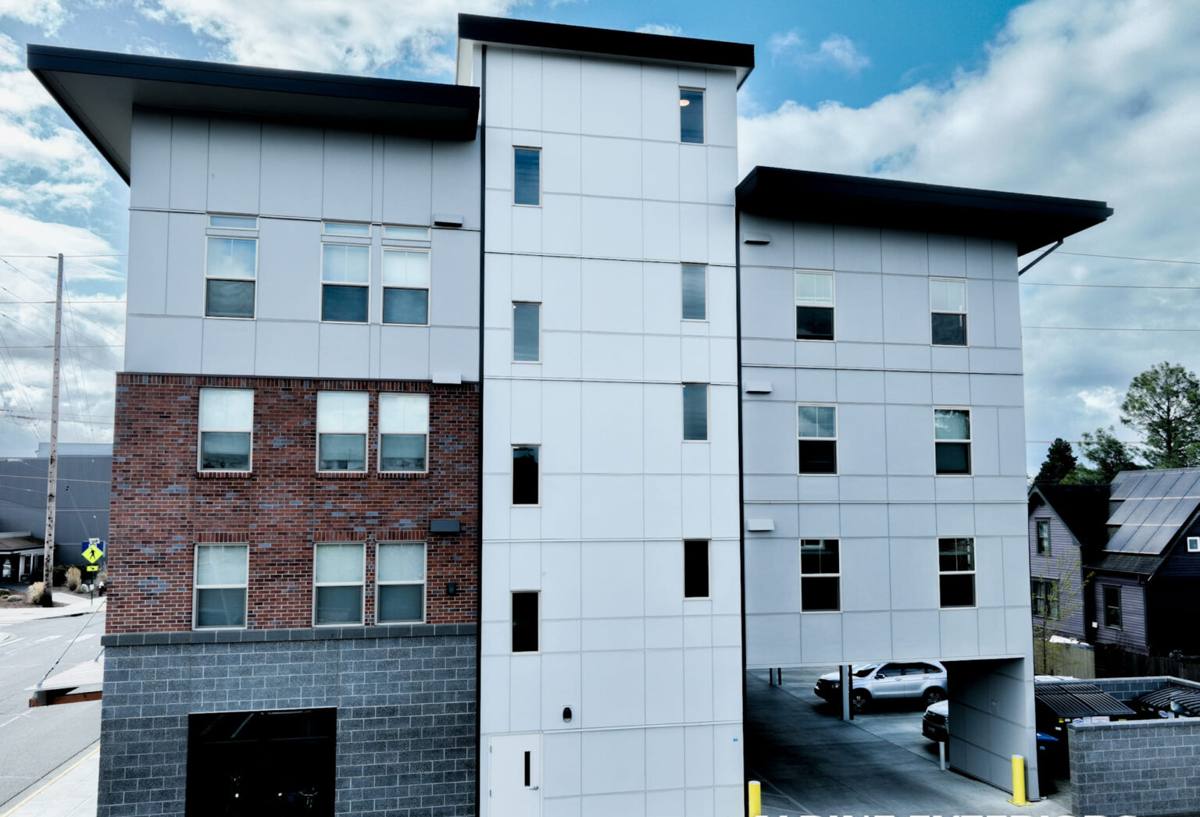
University District has seen a steady wave of infill building — teardown-rebuilds, ADUs, and multi-unit projects filling in lots near the university core. Any of these jobs eventually needs windows set into open, unfinished framing, which is a different trade than swapping an old window into an existing opening. There's no old frame to reference, no existing flashing to inspect or repair, and no shortcuts available from a prior installer's mistakes (or good work). Everything — the rough opening size, the flashing sequence, the water management plan — gets built from scratch, and it has to be built correctly the first time, because the siding and interior finish will bury any errors for years.
That's the appeal of new construction for a window crew, honestly. Done right, it's the cleanest way to get a long-lasting, leak-free window install. Done wrong, it's also the fastest way to create a hidden rot problem behind brand-new siding.
What University District's Climate Asks of a New Window Install
Seattle and King County sit in a marine climate, and University District gets the full package: driving rain that comes in sideways off wind gusts, long stretches of gray, damp weather that keep exterior surfaces wet for days at a time, and a moss season that runs longer here than in drier parts of the country. Add in the salt-laden air that moves inland off Puget Sound on windier days, and every exterior material on a house — including window frames, sills, and the flashing around them — is dealing with near-constant moisture exposure for much of the year.
None of that is exotic information to anyone who's lived here a while, but it matters enormously for how a new-construction window opening is detailed. Water doesn't need to fall straight down to get into a wall — wind-driven rain pushes it sideways and even upward under the wrong conditions. A window installed to a "good enough" standard in a drier climate can fail here within a few wet seasons.
Getting the Installation Right the First Time
Flashing and the Weather-Resistive Barrier
The single most important part of a new-construction window install isn't the window itself — it's the sequence of flashing tape, sill pan, and weather-resistive barrier (WRB) integration around it. Water that gets past the exterior cladding needs a clear, shingled path back out of the wall, never a path inward. That means:
- A sloped or pre-formed sill pan under the window, so any water that reaches the sill drains back out rather than pooling
- Flashing tape applied in the correct shingle order — sill first, then jambs, then head — so upper layers always overlap lower ones
- The WRB integrated into that same shingle sequence, not just stapled on afterward
- A head flashing or drip cap detail that kicks water away from the top of the window before it can wick sideways
This is the part of the job that's invisible once siding goes on, which is exactly why it has to be done to spec rather than to eye. A rushed flashing job doesn't usually show a problem in month one — it shows up as a stain, soft trim, or a musty smell two or three winters later.
Nail-Fin Technique and Rough Opening Accuracy
Most new-construction windows in this region use a nail-fin (flange) design that fastens directly to the sheathing before the WRB and siding go over it. Getting this right depends on the rough opening being framed square, plumb, and to the correct dimension — too tight and the window racks under fastening pressure; too loose and shimming becomes a guessing game that can compromise the seal. We check opening dimensions against the actual window unit before it ever gets set, not just against the plans, since even a well-run framing crew can be off by enough to matter for a tight, square install.
Choosing Frame Materials for the Long Run
New construction is the one time a homeowner or builder gets a completely open choice of frame material, since there's no existing frame dictating a compatible replacement. In a wet, moss-prone climate like ours, that choice has real consequences for maintenance down the road.
| Frame Material | Moisture Behavior | Maintenance | Typical Fit |
|---|---|---|---|
| Vinyl | Does not absorb water; seams and welds are the main watch point | Low — occasional cleaning | Budget-conscious builds, rentals, spec homes |
| Fiberglass | Very stable, minimal expansion/contraction with wet-dry cycles | Low | Higher-end new builds, larger window units |
| Wood (clad exterior) | Interior wood protected; exterior cladding must stay sealed | Moderate — watch cladding seams and sill caulking | Traditional or craftsman-style new builds |
| Aluminum | Conducts cold well, can condense/sweat without thermal breaks | Low physically, but condensation needs monitoring | Modern/contemporary designs, larger glass spans |
We don't push one material as universally "best" — we walk through how each one holds up specifically to prolonged damp exposure and occasional wind-driven salt air, and let the homeowner or builder weigh that against budget and the look they're after.
Meeting Seattle's Energy Code Without Overpaying
New construction windows in Seattle have to meet Washington State Energy Code (WSEC) requirements for U-factor and, depending on the project, solar heat gain coefficient. These aren't optional extras — they're checked as part of permitting and final inspection on new builds. The practical upshot for a homeowner or builder is that window performance specs need to be locked in before ordering, not adjusted after the fact when an inspector flags a gap between what's installed and what's on the energy code compliance forms.
We size window performance to what the project actually needs to pass, rather than defaulting to the highest-spec (and highest-cost) glass package on every opening. On a typical University District new build, that usually means a solid double-pane, low-E unit with the right U-factor for the wall assembly — triple-pane and specialty coatings get reserved for openings where they're actually earning their cost, like large west-facing glass or noise-sensitive rooms.
Egress, Safety Glazing, and Sound Near a Dense Campus Neighborhood
A few code and comfort issues come up repeatedly on new construction in this neighborhood:
- Egress: Bedroom windows need to meet minimum clear opening dimensions for emergency escape — this has to be confirmed at the ordering stage, not discovered at final inspection
- Safety (tempered) glazing: Required near doors, low sills, stairways, and bathrooms — easy to miss on a busy multi-window order if it isn't flagged room by room
- Sound: University District's density means more traffic noise, foot traffic, and general campus-area activity than a quiet suburban lot. Homeowners building here often ask about upgrading glass thickness or spacing on street-facing rooms specifically to cut down on that ambient noise, which is a reasonable and relatively low-cost upgrade to consider before windows are ordered rather than after
How We Work With Builders and Homeowners in University District
On a new-construction job we coordinate directly with the general contractor or homeowner on schedule, since windows have to arrive and get set at the right point in the framing sequence — not too early (exposed to job-site damage) and not so late that it holds up siding and interior work. Our process on these jobs generally runs:
- Review plans and confirm rough opening sizes, egress requirements, and tempered-glass locations room by room
- Finalize frame material and glass package against the project's energy code targets and noise/exposure concerns
- Order and verify units against actual framed openings before install day
- Install with full sill-pan, flashing, and WRB integration, checked at each shingled layer
- Walk the finished openings with the builder or homeowner before siding closes everything up
Quick pre-order checklist we run through with every new-construction client:
- Confirmed rough opening dimensions for every window on the plan
- Egress-compliant sizing on all required bedroom windows
- Tempered glass flagged everywhere code requires it
- Frame material chosen with this climate's moisture exposure in mind, not just appearance
- U-factor and SHGC specs matched to the project's energy code path
- Flashing and sill-pan details specified before the WRB goes up, not decided on the fly
Why Hire a Crew That Already Works This Neighborhood
University District's mix of older lots, tight infill sites, and ongoing new construction means every project has its own quirks — narrow access for material staging, coordination with adjacent properties, or design review considerations that come with denser lots near the university. A crew that already works jobs in this part of Seattle has a feel for those realities and for how this specific climate treats a new window opening over its first few wet seasons. That's not something that shows up on a spec sheet, but it shows up in how few callbacks a job gets a few years down the line.
If you're planning a new build or major addition in University District and want windows specified and installed correctly from the framing stage forward, we're glad to walk the plans with you and put together a free, no-pressure estimate — just fill out the form below.