 Seattle Exterior
 Building New in Ravenna? The Windows Deserve as Much Attention as the Foundation
Whether it's a new home going up on a Ravenna lot, a second-story addition, or a full tear-down rebuild, the window package is one of the few parts of a build that has to be right the first time. Once siding, trim, and interior finishes go on, correcting a bad window install means tearing back into finished work. In a neighborhood like Ravenna — mature tree canopy, older lots, plenty of moisture moving through the soil and air for months at a time — that margin for error is even smaller than it looks on paper.
New-construction window installation is a different trade than replacing an old window in an existing wall. It happens at the framing stage, before siding and before the weather-resistive barrier is fully closed up, and it's the point where the building envelope either gets sealed correctly or gets a slow leak baked into the wall for the next twenty years. We treat it that way.
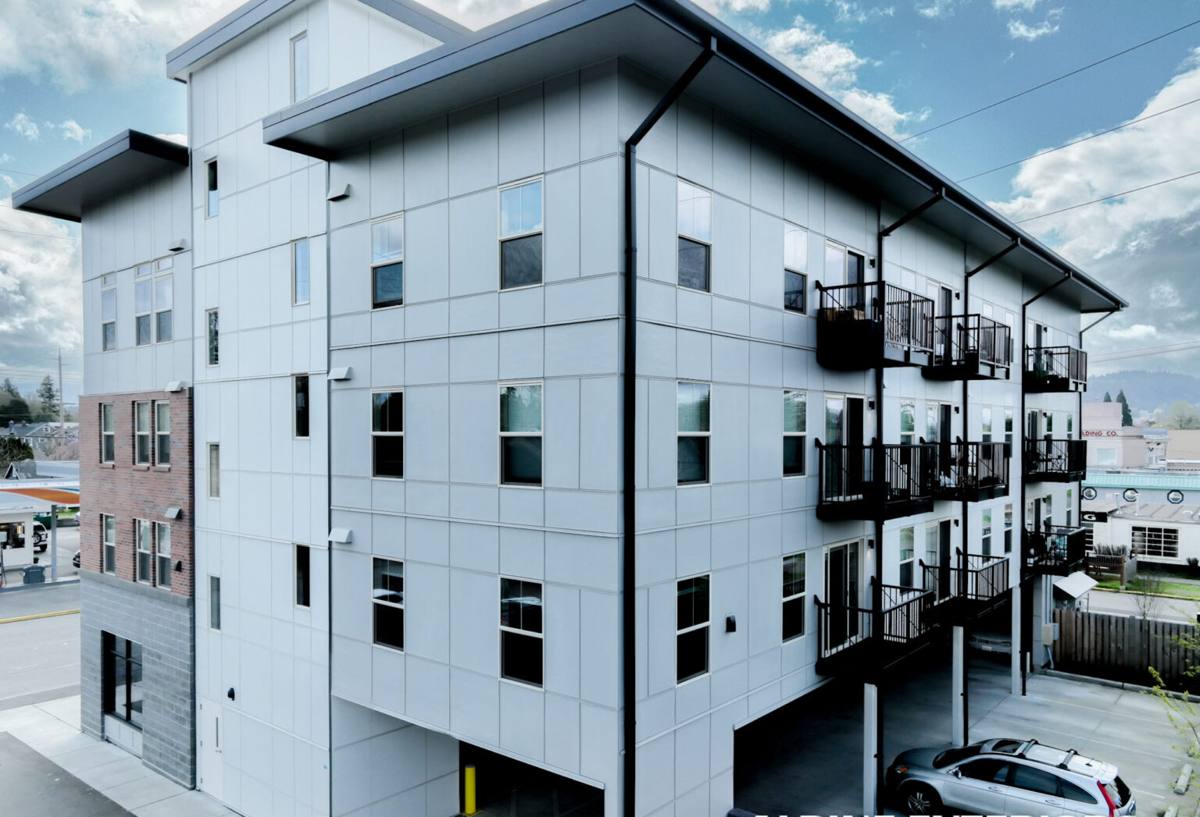
New-Construction Windows vs. Replacement Windows: Not the Same Job
The terms get used loosely, but they describe two different products and two different installation methods.
- New-construction windows have a nailing fin (sometimes called a flange) around the perimeter of the frame. The fin gets fastened directly to the sheathing and integrated into the weather-resistive barrier and flashing before siding goes on.
- Replacement (pocket) windows have no nailing fin. They're built to slide into an existing frame that's staying in place, relying on the old frame and trim for structural support and weatherproofing.
Using the wrong product, or installing a new-construction window like a replacement unit (common on additions where the crew is used to retrofit work), skips the flashing sequence that keeps water out of the wall cavity. On a new build or addition, there's no excuse to shortcut this — the wall is open, and doing it right takes the same amount of time as doing it wrong.
What Ravenna's Climate Actually Demands From a Window Install
Seattle and King County don't get hurricanes, but the combination of driving rain, salt-laden marine air moving in off the Sound, and a moss season that can stretch from fall through spring puts steady, low-grade pressure on every exterior opening in a house. A few things specific to this area shape how we approach new-construction windows here:
Driving rain, not just rain
Wind-driven rain doesn't just fall on a window — it gets pushed sideways and upward against the frame and sill. A sill pan and properly lapped flashing aren't optional extras; they're what stops that wind-driven moisture from finding its way behind the trim and into the framing.
A long moss and mildew season
Shaded, tree-covered lots — and Ravenna has plenty of them, thanks to its wooded ravine and mature street trees — hold moisture longer after a storm than open, sunny lots. That means caulk joints, sealants, and cladding around windows stay damp longer, which accelerates any weak point in the seal. We factor that into product and sealant choice, not just installation technique.
Salt and marine air exposure
Fasteners, flashing metal, and hardware exposed to marine air corrode faster than the same materials would inland. We spec corrosion-resistant fasteners and flashing at every new-construction window opening, not just on obviously exposed elevations.
What a Correct New-Construction Window Install Involves
There's a specific sequence that has to happen in order — skipping a step or doing them out of order is how most window leaks start, and they often don't show up for a year or two.
- Rough opening is checked for square, level, and correct size before the window ever shows up on site.
- A sill pan flashing is installed at the bottom of the opening, sloped or with a back dam so any water that gets past the window drains back outward instead of pooling on the sill.
- The weather-resistive barrier (house wrap) is cut and prepped so it will shingle correctly — meaning each layer overlaps the one below it, so water is always directed down and out, never trapped.
- The window is set into the opening, checked for level, plumb, and square, and fastened through the nailing fin per the manufacturer's schedule.
- Side and head flashing tape is applied over the fin in the correct shingled order, tying into the house wrap above and to the sides.
- Backer rod and sealant are applied at the interior air seal line — this is what stops indoor air leakage and condensation risk, separate from the exterior water management.
- Exterior trim and cladding go on last, once the flashing and drainage plane are confirmed continuous.
Every one of those steps is inspectable before the wall closes up. If a crew can't walk you through this sequence on your job, that's worth asking about before they touch a single window.
Choosing Window Materials for This Climate
Material choice matters more on a new build than a replacement job, because you're committing to it for the life of the structure. Here's how the common options hold up under Seattle's rain, moss, and marine air:
| Material | Moisture Tolerance | Maintenance | Typical Lifespan |
|---|---|---|---|
| Vinyl | Good — won't rot; seams and welds are the weak point if not factory-sealed well | Low | 20–30 years |
| Fiberglass | Very good — dimensionally stable, resists warping in wet-dry cycles | Low | 30–40+ years |
| Wood (clad exterior) | Depends entirely on cladding and joinery quality; interior wood needs a fully sealed exterior shell | Moderate to high | Varies widely — 15–40+ years |
| Aluminum | Corrosion-resistant coatings needed near marine air; conducts cold, prone to condensation | Low | 20–30 years |
We don't push one brand or material on every job — the right call depends on the home's design, budget, and how exposed the elevation is to weather. What we won't do is install a window system into a Ravenna new-construction opening without confirming its flashing and drainage detailing actually matches manufacturer requirements for this climate; some product lines have thinner or less forgiving flange details that make correct field flashing harder, and we'll say so plainly if that's the case.
Our New-Construction Window Process
- Plan review: we look at the window schedule and rough opening sizes before framing is finalized, catching sizing or egress issues early.
- Coordination with the builder or GC: we work off the same framing and weather-barrier timeline as the rest of the crew, so windows go in at the right stage — not too early, not after siding prep has already started.
- Site verification: every rough opening is checked for square and correct dimension before install day.
- Installation: sill pan, window set, fin fastening, and flashing sequence performed in order, with photos taken at each stage for the record.
- Interior air seal: backer rod and sealant at the interior perimeter, separate from exterior weatherproofing.
- Final check: operation, hardware function, and visible seal quality confirmed before the crew moves to the next opening.
Documenting the flashing stage matters because it's the one part of the job that gets covered up permanently once siding goes on. We keep photo records specifically so there's a clear answer years later if a question ever comes up.
Code and Performance Requirements in King County
New-construction windows in Seattle have to meet the Washington State Energy Code's requirements for U-factor and solar heat gain, which are stricter than a lot of national baseline codes — this affects glazing package selection, not just frame material. Bedroom windows also have to meet egress requirements for opening size and sill height, and any glazing near doors, low sills, or wet areas needs to meet safety glazing (tempered glass) requirements. On a new build, these aren't afterthoughts — they need to be locked into the window order before the units are manufactured, since custom sizing and glazing changes after the fact get expensive fast.
Common Mistakes We See on Local Job Sites
- Sill pan skipped or improvised with just a bead of caulk — caulk alone isn't a drainage plane and it fails long before flashing does.
- House wrap taped or lapped in the wrong direction, so water gets directed into the seam instead of over it.
- Nailing fin only partially sealed, often at the corners, where most flashing failures actually start.
- Interior air sealing skipped entirely, leading to condensation and drafts that show up the first cold, damp winter.
- Window install rushed ahead of the weather barrier being fully prepped, forcing shortcuts to keep the schedule.
Why Local Experience on Ravenna Builds Matters
A lot of window problems on new construction aren't about the window itself — they're about timing and site conditions. Shaded, tree-covered Ravenna lots dry out slower between rain events, which changes how long you can leave a wall open before moisture becomes a real risk on site, not just a theoretical one. Older Ravenna lots also tend to have mature trees and established drainage patterns around the foundation that affect how water moves near the building — something a crew unfamiliar with the neighborhood might not account for when sequencing a job. Knowing when to push a window install up in the schedule ahead of a wet stretch, or when it's safe to let siding prep wait a day, comes from having worked this specific area, not just from having installed windows somewhere else.
Questions to Ask Before Windows Go Into Your New Build
- Will you install a sill pan flashing at every opening, not just the most exposed elevations?
- What's your sequence for integrating the window with the house wrap — can you walk me through it?
- Are the windows rated to meet Washington State Energy Code U-factor requirements for this project?
- Which openings need egress-compliant sizing, and has that been confirmed before ordering?
- Will fasteners and flashing metal be corrosion-resistant given the marine air exposure?
- Can you document the flashing stage with photos before it's covered by siding?
If you're planning a new build, addition, or full rebuild in Ravenna and want the window package handled by a crew that already knows this neighborhood's rain patterns, tree cover, and lot conditions, we're happy to walk your plans and give you a straightforward, no-pressure estimate — just fill out the form below.