 Seattle Exterior
 Siding Installation in Fremont, Seattle
Fremont sits close enough to the Ship Canal and Puget Sound that homes here deal with a steady combination of moist air, driving rain off the water, and long stretches of shade from mature trees and tight lot spacing. That combination is hard on exterior siding, especially on homes that have gone a few decades without a full re-side. If you're planning a siding installation in Fremont, the job needs to account for how this specific part of Seattle behaves through a Pacific Northwest winter and wet spring, not just what the manufacturer's spec sheet says in general terms.
This page covers what Fremont homes typically need from a siding installation, what a correct job actually involves, how our process works, and why it matters to hire a crew that already knows this neighborhood rather than one working here for the first time.
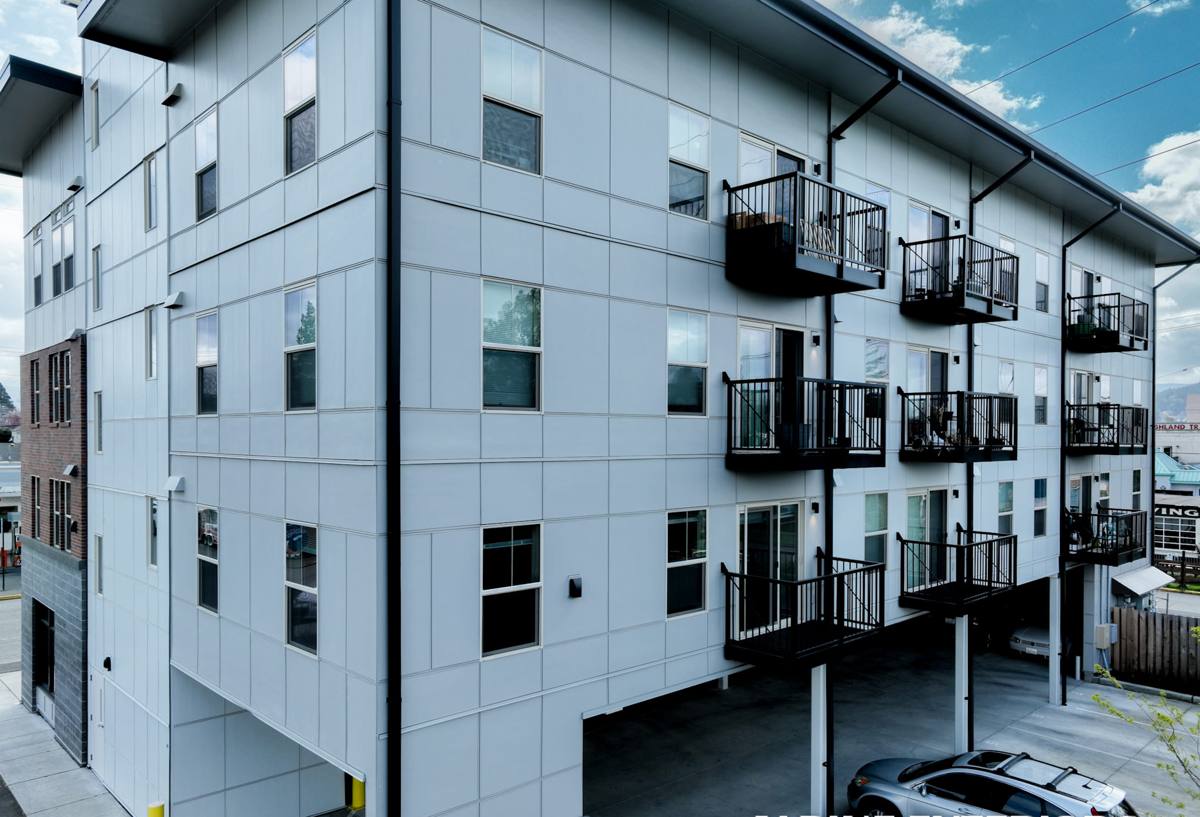
What Fremont's Climate Does to Siding
Seattle's climate isn't extreme in temperature, but it's relentless in moisture, and Fremont's proximity to the water adds a salt-air component that inland King County neighborhoods don't deal with as much. Over years, that shows up in a few predictable ways:
- Moss and algae growth on north-facing and shaded walls, especially under eaves, tree canopy, or between closely spaced houses where airflow and sun exposure are limited
- Slow moisture intrusion at seams, butt joints, and trim transitions that were caulked or flashed inadequately during the original build
- Paint and finish breakdown from repeated wet-dry cycling, which is more about how many times siding gets wet and dries than how cold it gets
- Corrosion of fasteners and metal flashing from the salt-tinged air moving up off the water, which accelerates rust on lower-grade hardware
None of this means siding fails quickly here — it means siding that isn't matched to the climate, or that wasn't installed with real moisture management, fails earlier and more visibly than it should.
Why We Install Only James Hardie Fiber Cement
We standardized on James Hardie fiber cement siding for every home we side, including in Fremont, because it's built for exactly this kind of climate. It's non-combustible, it doesn't rot or support moss growth the way wood-based products can, and Hardie's HZ5 product line is engineered for the wetter, more humid conditions common in the Pacific Northwest. The factory-applied ColorPlus finish also matters here specifically — a baked-on finish holds up better against the repeated wet-dry cycling that breaks down field-applied paint over time, which means fewer repaint cycles over the life of the siding.
We don't install vinyl, LP SmartSide, primed wood, or other fiber cement brands, and we're upfront about why: this is our professional standard, based on how these products perform under real Pacific Northwest weather over a 20-30 year horizon, not a claim that every alternative is inherently bad. If you want the full comparison on any of those products, we cover it on our other educational pages — this page is specifically about what a correct Hardie installation looks like in Fremont.
What a Correct Siding Installation Actually Involves
Fiber cement siding performs exactly as well as the installation behind it. Most siding failures we see on older Fremont homes trace back to shortcuts in the water-management layer, not the siding material itself. A correct job includes:
Moisture Management
- A continuous, properly lapped weather-resistive barrier (housewrap) behind the siding, with no gaps or reversed laps
- Correct flashing at every window, door, and roofline transition, integrated with the weather barrier — not just caulked over the top
- A drainage plane or furring strip system where wall conditions call for it, so any moisture that gets behind the siding has somewhere to go instead of sitting against the wall sheathing
Fastening and Clearances
- Fasteners driven per Hardie's published spec — correct type, length, and placement, since under- or over-driven nails are one of the most common causes of panel movement and cracking
- Proper clearance from grade, roofing, decks, and patios, so siding isn't sitting in a position where it stays wet longer than it should
- Correctly caulked and sealed joints using products compatible with the ColorPlus finish, not generic caulk that will discolor or fail early
None of this is exotic — it's the manufacturer's own installation spec. But it's also the part of the job that's easy to rush, and the part a homeowner can't easily verify just by looking at the finished wall.
Signs a Fremont Home May Need New Siding
Because moisture-related siding failure tends to develop slowly, homeowners often live with early warning signs for years before addressing them. Worth a closer look if you're seeing:
| Sign | What It Usually Means |
|---|---|
| Persistent moss or dark streaking on shaded walls | Moisture is sitting on the siding surface longer than it should, often from poor airflow or shade combined with an aging finish |
| Soft or crumbling spots near the bottom of walls or trim | Wood-based siding or trim has taken on moisture and started to break down |
| Paint peeling in sheets rather than fading evenly | Moisture is trapped behind the paint film, usually a sign of an underlying water-management issue |
| Visible gaps, cracks, or warping at panel seams | Original installation or fastening may not have followed spec, or panels have reached the end of their service life |
| Rusty streaking below fasteners or flashing | Hardware corrosion, more common in areas with salt-air exposure like Fremont |
Our Installation Process
The same process applies whether we're re-siding a Fremont bungalow or a newer infill build, adjusted for what the specific wall assembly needs.
- On-site assessment — we look at existing siding, sheathing condition, and known problem areas (shaded walls, low-clearance sections, prior water intrusion) before quoting anything
- Tear-off and sheathing check — old siding comes off and we inspect the sheathing underneath for rot or damage that needs to be addressed before anything new goes up
- Weather barrier and flashing installation — the housewrap and flashing details go in correctly the first time, since this is the layer that actually keeps water out
- Hardie panel installation — installed to manufacturer spec for fastening, clearance, and joint treatment
- Trim, caulking, and finish detailing — using products compatible with the ColorPlus finish so the warranty stays intact
- Final walkthrough — we go over the finished job with you before calling it done
Cost Factors for Siding Installation in Fremont
Every home is different, so we don't publish flat pricing, but these are the factors that most affect the cost of a siding installation project in this neighborhood:
| Factor | Why It Affects Cost |
|---|---|
| Tear-off vs. overlay | Full removal of existing siding costs more upfront but is usually the right call when sheathing needs inspection or repair |
| Sheathing or framing repair | Rot found during tear-off adds cost, but skipping repair to save money undermines the new siding's lifespan |
| Home size and wall complexity | More corners, dormers, and trim details mean more labor and material waste |
| Access and lot conditions | Narrow side yards and tight setbacks common in Fremont can slow staging and material handling |
| Siding profile and accessories | Lap width, trim style, and specialty accents affect material cost independent of square footage |
| Building height and stories | Multi-story walls require more scaffolding or lift work, which adds labor time |
Why Hiring a Crew That Works Fremont Regularly Matters
A lot of Fremont's housing stock includes older homes with narrow lots, tight side-yard access, and wall assemblies that were built to a different standard than current code requires. A crew that regularly works this neighborhood has already seen how these homes were framed and sided originally, what tends to be hiding behind old siding, and how to stage a job on a lot where there isn't much room to work.
Seattle's permitting and inspection process is also something a local crew handles routinely rather than learning on your project. We know what King County and City of Seattle inspectors expect for weather-resistive barrier installation and flashing details, and we build to that standard as the baseline, not the minimum to pass.
Beyond the technical side, familiarity with the neighborhood means fewer surprises during the job — we're not guessing at how a Fremont wall assembly behaves in a wet winter, we've already worked on homes just like it.
After Installation: Keeping Fremont Siding Performing
Correctly installed Hardie siding is low-maintenance, but "low-maintenance" doesn't mean "no maintenance," especially in a climate with a real moss season. A few habits go a long way:
- Keep gutters clean and downspouts directed away from siding so runoff doesn't sheet down the wall
- Trim back vegetation and tree limbs that keep siding shaded and damp longer than necessary
- Rinse shaded, moss-prone walls periodically rather than letting growth build up over multiple seasons
- Have caulking and trim joints checked every few years, since sealant is the one component that wears out well before the siding itself
If you're weighing a siding project on a Fremont home and want a straight answer about condition, scope, and cost, we're glad to take a look. There's no pressure and no charge for an estimate — just an honest assessment of what your home actually needs.