 Seattle Exterior
 Wallingford is one of Seattle's older, established neighborhoods, and that shows up directly in the window work we get called for. A lot of homes here started life with original wood windows from the early-to-mid 1900s, then picked up a round of aluminum replacements sometime in the 1970s or 80s, and in some cases a more recent vinyl upgrade layered on top of that. Each of those generations of windows was installed under different assumptions about moisture control, and each one leaves a different starting point for the next job. Window installation in Wallingford isn't really one job — it's whatever that specific house's history requires, done correctly this time.
Wallingford's Housing Stock Sets the Terms
The bungalow and Craftsman-style homes common in Wallingford were built with narrower wall cavities, single-pane wood sash, and little to no dedicated moisture barrier behind the trim — because that's simply how homes were built at the time, not because anything was done wrong. Decades later, a lot of those original units were swapped for aluminum-frame replacements that solved the drafty-glass problem but often did nothing to address the wall assembly behind them. Newer vinyl windows installed in the last fifteen to twenty years are closer to current standards, but even those vary a lot in installation quality depending on who did the work and when.
What this means in practice: before we talk about which window to put in, we need to know what's actually behind the existing one. An older frame with dry, intact wood and reasonable flashing might only need an insert replacement. The same-looking window two doors down, with decades of slow moisture intrusion behind the trim, might need the opening opened up and rebuilt from the studs out. You can't tell the difference from the street, and a contractor who doesn't check finds out the hard way, mid-project.
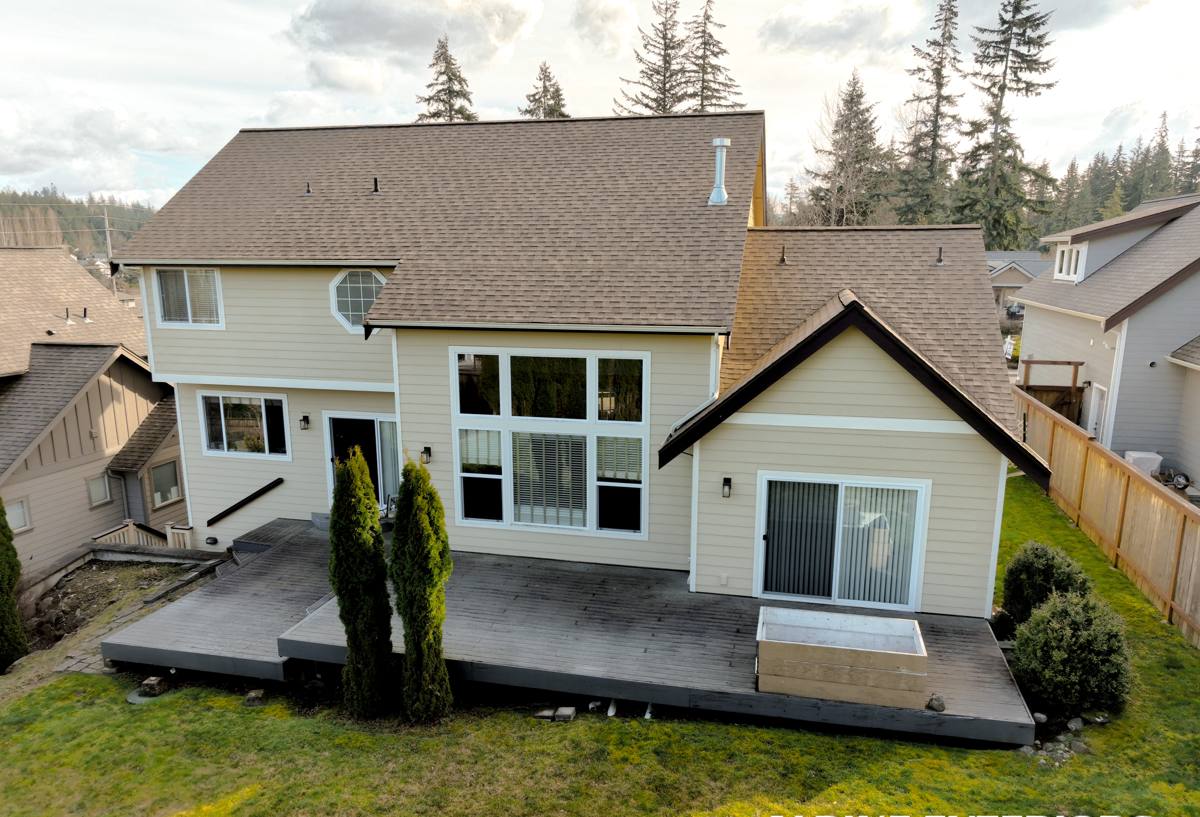
What Seattle's Marine Climate Demands From an Installation
Seattle and the rest of King County sit in a marine climate that's harder on window installations than people who haven't dealt with it tend to assume. Rain here doesn't just fall — a good storm off Puget Sound drives it sideways into walls, testing every seam and seal a window has. Add in a long stretch of the year with cool, damp air and limited direct sun, and you get a moss season that can run most months, holding dampness against sills, trim, and siding far longer than a drier climate ever would. Homes closer to the water pick up salt-laden air on top of that, which accelerates corrosion on hardware and lower-quality frame components over time.
None of that is exotic knowledge to anyone who's lived in Seattle for a while, but it matters enormously for how a window gets installed, not just which window gets chosen. A window that's flashed correctly and sealed with the right materials will shed that rain and resist that moss buildup for decades. One that's shimmed and caulked without a proper sill pan or integrated moisture barrier will look fine for a year or two and then start failing quietly, behind the trim, where nobody sees it until there's a soft spot in the wall.
Where Problems Actually Start
In our experience, it's almost never the glass or the frame material that fails first. It's the transition points — where the window meets the sill, where the flashing laps under the siding above, where the old caulk joint was never really doing the job it looked like it was doing. Those are also the exact spots a rushed installation is most likely to shortcut, because they take real time to do right and don't show up in a quick visual inspection afterward.
Full-Frame vs. Insert Replacement: Picking the Right Approach
This is the first real decision on almost every Wallingford window job, and it depends entirely on the condition of what's already there — not on preference or budget alone.
| Factor | Insert (Pocket) Replacement | Full-Frame Replacement |
|---|---|---|
| When it's appropriate | Existing frame and sill are dry, square, and structurally sound | Frame or sill shows rot, water damage, or was never properly flashed |
| Speed | Faster — new window fits inside the existing frame | Slower — opening is stripped down to the rough framing |
| Access to hidden problems | Limited — moisture behind the old frame stays hidden | Full — lets us see and fix what's actually behind the trim |
| Glass area | Slightly reduced, since the new frame nests inside the old one | Can often be restored to full original opening size |
| Best fit for Wallingford | Newer or well-maintained vinyl windows with no signs of moisture | Original wood-frame openings or aluminum replacements with any sign of past leaks |
A lot of older Seattle homes get sold the faster, cheaper insert option by default, because it's an easier job to quote and complete. That's not always wrong, but on a house with original wood-frame openings or any history of leaks, it can just seal existing moisture problems behind a new window instead of fixing them. We check the condition of the opening before recommending either approach, and we'll tell you honestly if what you're picturing as a quick swap actually needs to be a full-frame job.
What a Correct Window Installation Job Involves
Assessment and Measuring
We start by checking the condition of the existing frame, sill, and surrounding wall assembly, not just taking measurements for a new unit. On older Wallingford homes, this step usually tells us more about the scope of the job than anything else.
Removal and Structural Check
Once the old window is out, we look at what's actually behind it — the condition of the framing, whether there's an existing moisture barrier, and whether prior water intrusion has caused any rot that needs to be addressed before a new window goes in.
Flashing and Weatherproofing
This is the step that determines how the window performs for the next twenty-plus years in this climate. A sill pan directs any water that gets past the window outward instead of into the wall. Flashing tape integrates the new window with the surrounding water-resistive barrier so water sheds down and out rather than finding a gap to work into. This is also the step most likely to get rushed on a lower-quality install, because it's invisible once the trim goes back on.
Setting, Shimming, and Insulating
The window gets set plumb, level, and square, then shimmed and fastened according to the manufacturer's structural requirements. Gaps around the frame get insulated properly — overpacking with spray foam can bow a vinyl frame, while underinsulating leaves a cold, drafty gap, so this step takes a lighter touch than people expect.
Trim and Finish
Interior and exterior trim gets reinstalled or rebuilt to match the surrounding house, with attention to sealing the final joints so the finished look doesn't undo the weatherproofing work underneath it.
Matching the Character of Older Wallingford Homes
A lot of Wallingford's housing stock has real architectural character — divided-lite patterns, specific trim profiles, sightlines that match neighboring original windows on the same wall. Replacing a window on one of these homes with something that ignores that character can technically solve the drafty-window problem while making the house look mismatched from the street. We match grille patterns and trim details to the surrounding house where that matters to you, and we're upfront when a modern window style would look out of place next to original features you're keeping.
Frame material is part of that same conversation. Vinyl remains the most common choice for straightforward replacements because it holds up well to sustained damp weather with minimal upkeep. Fiberglass is a step up in strength and dimensional stability for larger openings. Wood-frame and wood-clad options can match a historic look more closely, but they carry a real maintenance obligation in this climate — exposed wood exteriors need consistent upkeep to avoid the rot problems we see on older homes that didn't get that upkeep. We'll walk through the honest trade-offs for your specific house rather than pushing whichever option is easiest to install.
Permits and Code Considerations
Seattle requires permits for a range of window projects, particularly when a job changes the size of an opening, involves a bedroom egress window, or touches structural framing. Straight like-for-like replacements are sometimes exempt, but that depends on the specifics of the job and the current code cycle, not a blanket rule. Energy code requirements around glazing performance also come into play on many projects. We handle the determination of what's required and manage the paperwork as part of the job, so you're not left guessing whether your project needs a permit.
Our Process, Start to Finish
- On-site assessment — we inspect the existing windows, frames, and surrounding wall condition before recommending anything
- Honest recommendation — insert or full-frame replacement, explained with the reasoning behind it
- Product selection — frame material and style discussed against your budget, maintenance preference, and the look of the house
- Permit handling — we determine what's required for your specific project and manage the paperwork
- Removal and prep — old units come out carefully, with any hidden rot or moisture issues addressed before the new window goes in
- Installation and flashing — new windows are set, shimmed, insulated, and flashed to shed water correctly
- Trim and finish — interior and exterior trim completed to match the rest of the house
Costs and What Drives Them
We won't quote a number without seeing the job, but the factors that move price on a Wallingford window installation are consistent from house to house.
| Factor | Why It Matters |
|---|---|
| Insert vs. full-frame | Full-frame work involves more labor and often uncovers repair work an insert job would leave hidden |
| Frame material | Vinyl, fiberglass, and wood-clad options differ in both upfront cost and long-term maintenance |
| Number of openings | Whole-house projects typically have better per-window economics than one or two windows at a time |
| Opening condition | Rot, old flashing failures, or out-of-square framing add repair work before the new unit goes in |
| Size and configuration | Larger units, bay windows, or matched sets cost more to manufacture and install than a standard single window |
| Permit requirements | Egress changes or structural work add time and permitting cost that a straight swap doesn't |
A Quick Checklist Before You Hire Anyone
- Ask whether they're recommending insert or full-frame replacement, and why, based on what they actually find behind the trim
- Get a clear answer on what the flashing and sill pan plan looks like — not just "we'll seal it up"
- Confirm whether your project needs a permit and who's responsible for pulling it
- Ask how they'll match grille patterns and trim to the rest of the house if that matters to you
- Get the warranty terms in writing — window unit and installation labor are often covered separately
- Ask what they'd do differently on a home with your home's specific age and construction
Why Local Experience in Wallingford Matters
Manufacturer installation instructions are written for average, generic conditions — they don't know your house was built with 1920s framing conventions, or that it's sitting under mature tree cover that keeps things shaded and damp most of the year, or that the last remodel left a moisture problem hidden behind perfectly good-looking trim. A crew that has actually opened up older Wallingford walls, dealt with the framing quirks specific to this housing stock, and worked through Seattle's permitting process for these kinds of projects knows where the manufacturer's minimum standard isn't good enough for this climate, and where it's worth the extra time even when nobody would notice if you skipped it.
That experience is what tells us, walking up to a house, roughly what we're going to find once the trim comes off — and it's what keeps a straightforward-looking window swap from turning into a surprise once the wall is open.
If you're dealing with drafty, foggy, or hard-to-operate windows in a Wallingford home, or planning ahead for a remodel, it's worth having someone look at the actual condition of your openings before you start pricing units. We offer free, no-pressure estimates for window installation in Wallingford and the surrounding Seattle area — use the form below to get a time on the schedule.