 Seattle Exterior
 New-Construction Windows Are a Different Job Than Replacement Windows
New-construction windows go in before the siding, before the interior finishes, and often before the house has ever seen a full winter. That's a very different job than swapping an old window in an existing opening. There's no old flashing to inspect, no existing trim to match, and no way to "see how the last guy did it" — the water management, the air sealing, and the structural attachment all have to be built correctly from scratch, in the right sequence, alongside the framing crew, siding crew, and whoever is running the weather-resistive barrier (WRB) on the job.
In West Seattle, that sequencing matters more than it does in a lot of other parts of the city. Homes here — whether up on the Alki-facing bluffs, along the Fauntleroy and Lincoln Park side, or back in the ridge neighborhoods — get more direct exposure to wind-driven rain off Puget Sound than homes further inland. A window opening that's "close enough" on flashing detail in a sheltered neighborhood can be a real problem on a lot that catches wind off the water. New construction is the one chance to get that detail right before it's buried behind siding.
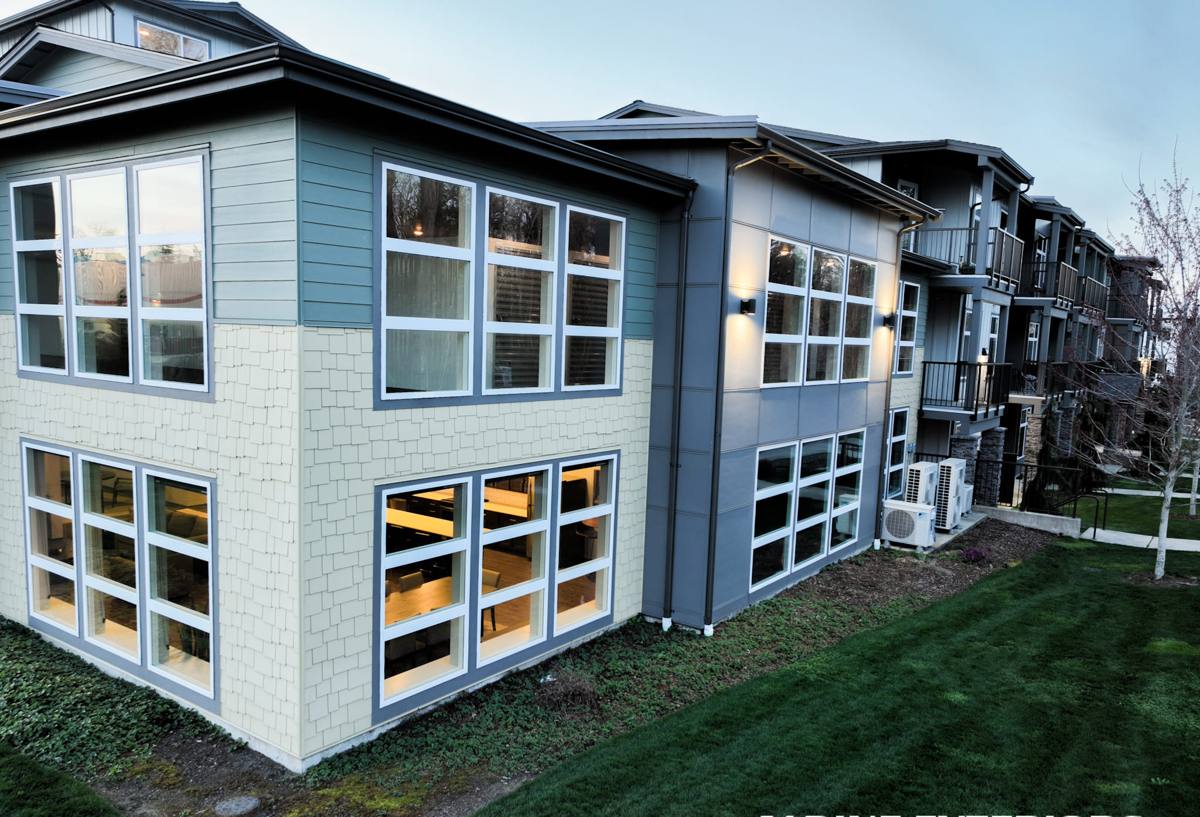
What West Seattle's Climate Actually Demands From a New Window Install
Seattle's marine climate isn't dramatic in any single storm — it's the cumulative exposure that causes problems. Three things specific to West Seattle's geography drive how we spec and install new-construction windows here:
- Salt air: Properties closer to the water see airborne salt that accelerates corrosion on unprotected fasteners, hinges, and some lower-grade cladding finishes over the years.
- Driving rain: Wind off the Sound pushes rain sideways against west- and southwest-facing walls, which puts real pressure on sill pans, head flashing, and sealant joints — far more than a still, straight-down rain would.
- A long moss and mildew season: Extended damp, shaded periods (common under mature tree canopy and on north-facing walls) mean any organic material trim, unsealed end grain, or trapped moisture pocket becomes a growth site for moss and mildew, not just a cosmetic issue but a long-term maintenance one.
None of these require exotic solutions. They require picking materials that tolerate the exposure and installing them so water has nowhere to sit. That's the whole game with new construction — you're not fixing a leak later, you're deciding in advance whether there will ever be one.
What a Correct New-Construction Window Installation Involves
The Water Management Sequence
Every opening gets the same basic sequence, and the order matters as much as the materials: sill pan flashing first (sloped to drain outward, never flat), jamb flashing integrated shingle-style over the sill pan, the window set and shimmed level and plumb, then head flashing integrated over the WRB so water sheds down and out rather than behind the cladding. Skipping the sill pan, or flashing it out of order, is the single most common cause of hidden rot we find when we're called in to fix someone else's new build a few years later.
Sealing and Insulating the Rough Opening
Once the window is set, the gap between the frame and the rough opening needs to be air-sealed and insulated correctly — usually a low-expansion foam or backer rod and sealant, never a can of high-expansion foam that can bow the frame and throw off the reveal. Interior air sealing matters as much as exterior water sealing; a gap here is where condensation and drafts show up two winters later, long after the drywall is painted.
Fastening and Structural Attachment
New-construction windows typically have a nailing fin or flange that gets fastened directly to the sheathing before the WRB and siding go over it. Fastener spacing and type matter for wind load, and in exposed West Seattle locations we don't cut corners on fastener count just to save a few minutes per window.
Choosing the Right Window Frame Material for a New Build
New construction is the best time to choose frame material, since you're not constrained by an existing opening size or interior trim. Here's how the common options compare for a West Seattle build:
| Frame Material | Salt Air / Corrosion | Moisture Behavior | Maintenance |
|---|---|---|---|
| Vinyl | Good — no metal corrosion risk | Doesn't absorb water; seams are the main watch point | Low — no painting or refinishing |
| Fiberglass | Very good — highly stable, low expansion | Dimensionally stable in wet-dry cycling | Low, holds paint well if a color change is wanted later |
| Wood (clad or unclad) | Fair — cladding protects it, but any breach exposes wood | Needs consistent sealing at joints and sills | Higher — periodic finish and joint maintenance |
| Aluminum | Requires a quality thermally-broken, coated finish near the water | Conducts heat/cold, condensation risk without a thermal break | Moderate — watch fastener and hardware corrosion |
We're not going to tell a homeowner that any of these is "bad" — they're all used successfully in this region. What we do is match the frame to the exposure. A wall that catches driving rain and salt-laden wind off the Sound is not the place to cut corners on flashing detail or hardware finish, regardless of which frame material is chosen.
Energy Code and Performance Requirements in King County
Washington's energy code sets minimum U-factor (heat loss) and, in some cases, solar heat gain requirements for new-construction windows, and King County permitting enforces those minimums at inspection. New builds also have code requirements around egress sizing for bedroom windows and tempered (safety) glass in specific locations — near doors, low to the floor, in wet areas, and other locations the code defines. Getting the wrong glass package or missing a tempered-glass requirement on a new build isn't just a performance issue, it can hold up your final inspection and occupancy. We spec to the current code requirements as part of the take-off, not as an afterthought.
Our Process on a New-Construction Job
We work as a sub on the builder's schedule, not around it. On a typical West Seattle new-construction or major-addition job:
- Review plans and confirm window schedule, sizes, and glass/tempering requirements against code before ordering.
- Coordinate delivery timing with the builder so units arrive when the openings are ready, not sitting exposed on site.
- Install sill pans, set and flash each window in sequence, and air-seal the interior before insulation and drywall close it up.
- Walk each opening with the builder or site super before siding goes on, since that's the last point where flashing is visible and fixable.
- Final adjustment and hardware check once the building is dried in and trim work begins.
That mid-point walk-through before siding closes everything up is one we insist on. It costs nothing and it's the difference between catching a flashing issue in five minutes versus tearing into finished siding two years later.
Mistakes We See in New-Construction Window Work
Most of the water damage we're eventually called to repair in newer West Seattle homes traces back to a handful of avoidable installation mistakes, not the window product itself:
- No sill pan, or a sill pan installed flat instead of sloped to drain
- Flashing integrated out of order, so water gets directed behind the WRB instead of over it
- High-expansion foam used around the frame, bowing it out of square
- Under-fastened nailing flanges on walls with real wind exposure
- Head flashing left off or not extended past the jamb flashing
- Siding installed tight against the window frame with no room for the frame to shed water
Every one of these is invisible once the siding goes on — which is exactly why it has to be done right the first time, not caught later.
Why a Local West Seattle Crew Matters for New Construction
New-construction window work depends on timing and coordination as much as installation skill. A crew that already works West Seattle regularly knows the typical exposure differences between an Alki-facing lot and a more sheltered inland one, has a working relationship with local builders and permitting expectations in King County, and can be on site on the schedule the framing and siding crews need — not squeezed in between jobs across town. That local familiarity is what keeps a new-construction window package on schedule and correctly detailed for the specific site conditions, rather than a generic installation dropped into a house that has its own particular exposure to plan around.
If you're building new or adding on in West Seattle and want the window package specified and installed right the first time, we're happy to walk the plans with you and provide a free, no-pressure estimate — just use the form below to get started.