 Seattle Exterior
 West Seattle window projects tend to fall into one of three buckets: original single-pane wood windows that have never been touched since the house was built, a prior replacement that was never flashed or sealed correctly and is failing again, or a remodel or addition that needs new openings built in from scratch. Whichever one applies to your house, the underlying challenge is the same. West Seattle sits right on Puget Sound, and that direct exposure to open water changes what a window installation has to survive compared to a job a few miles inland in King County.
What Puget Sound Exposure Does to a Window
A window is a system, not just a piece of glass in a frame — hardware, seals, flashing, and the surrounding wall all have to work together to keep water out. West Seattle's location puts extra stress on every part of that system in ways a manufacturer's generic installation guide doesn't fully account for.
Salt Air and Hardware
Homes closer to the water pick up salt-laden air off the Sound, and that air is harder on metal than most homeowners expect. Latches, hinges, balance systems, and screws corrode faster than they would a few miles inland, and cheaper hardware shows it first — sticking sashes, pitted finishes, locks that stop closing cleanly. It's rarely dramatic, just a slow decline that ends with a window that technically still works but doesn't seal the way it did when it was new.
Wind-Driven Rain
Storms coming off the Sound don't always drop rain straight down. On exposed, bluff-facing sides of a house, wind pushes rain sideways and upward into gaps that would never get tested on a calmer day. That's a flashing and sealant problem more than a glass problem — the window itself can be perfectly good while the installation around it lets water in at the sill, the head, or the side jambs.
The Long Moss Season
King County's wet season runs long, and shaded or north-facing walls common on West Seattle's tree-covered lots stay damp for months at a stretch. That's exactly the environment moss and algae need. On windows, that shows up as green growth building up in sill tracks and along trim, holding moisture against wood and finish long after a drier climate would have let it dry out. It's more of an aesthetic and maintenance issue than a structural one on its own, but it's also a sign of exactly the kind of standing moisture that, given a small flashing gap, turns into a real problem.
The Window Stock We See Most in West Seattle
West Seattle's housing mix runs older than a lot of newer Seattle neighborhoods, and that shapes what a window project usually looks like here.
- Early-1900s to mid-century bungalows and craftsman-style homes — often still carrying original single-pane wood windows, sometimes with storm windows added later, and openings that predate current standard sizing
- Mid-century ramblers and split-levels — frequently already through one round of replacement windows, sometimes installed decades ago without proper flashing, which is often where we find hidden rot when we pull the old units
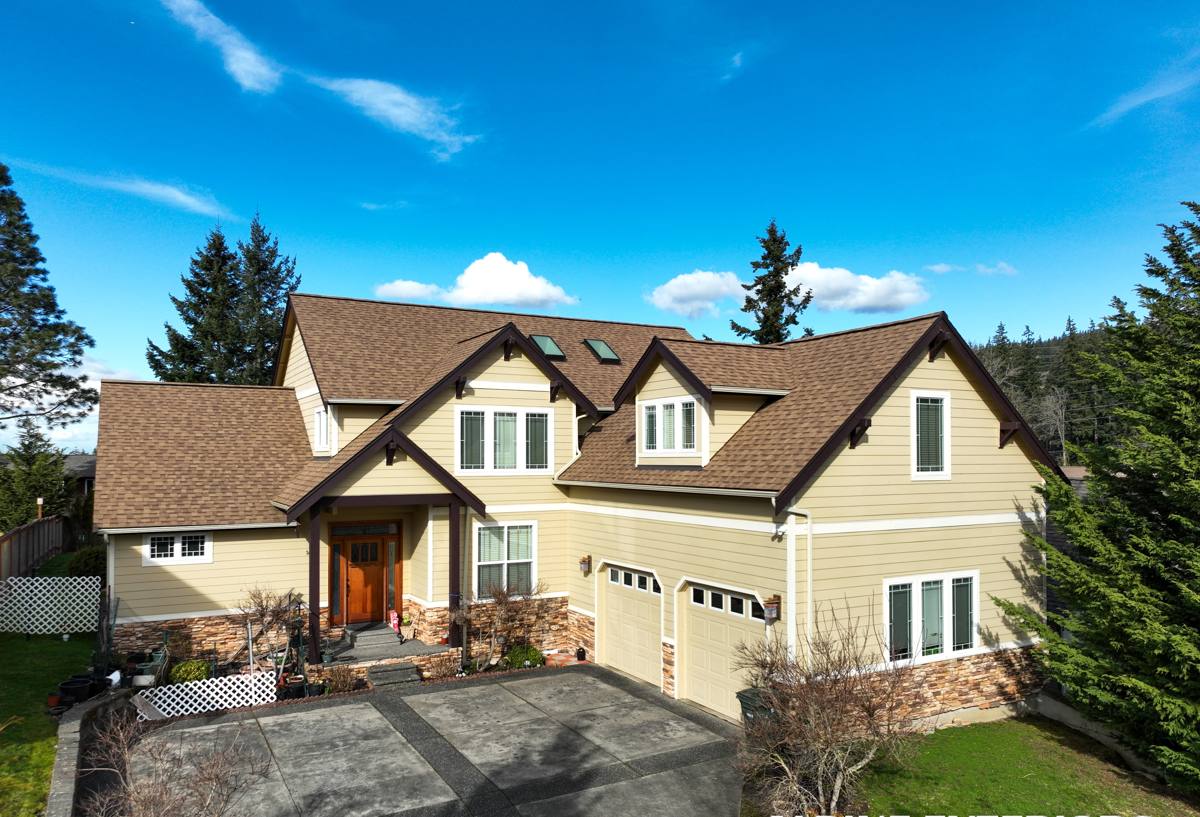
- Remodeled and view-oriented homes — larger picture windows or window walls added to take advantage of Sound views, which means more glass area and more perimeter to weatherproof correctly
- Additions and ADUs — newer openings that need to meet current energy and egress code even when the rest of the house is decades older
Each of those situations changes the job. An original wood window in a century-old bungalow usually means dealing with an out-of-square opening and old, possibly rotted framing underneath the trim. A failed prior replacement means finding out why it failed before putting in a new one, not just repeating the same mistake. And a larger view window means the flashing plan has to cover more surface area with no room for shortcuts.
What a Correct Installation Actually Involves
Removing the Old Unit Without Hiding Problems
The old window comes out carefully so we can actually see the condition of the framing, sheathing, and any existing flashing underneath — not just pull it and move on. This is where hidden rot or old, failed flashing from a previous job usually turns up. It gets addressed before the new window goes in, not covered over.
Flashing and the Sill Pan
This is the step that matters most in this climate. A correctly built opening uses a sloped sill pan that sheds any water that gets past the window outward, not down into the wall, along with head flashing and side flashing sequenced so each layer overlaps the one below it — water always moves down and out, never getting trapped behind a layer of trim or siding. On wind-exposed sides of the house, we pay extra attention here, since that's where driving rain actually tests the installation.
Air Sealing and Insulation
Beyond keeping water out, the gap between the window frame and the rough opening needs to be sealed and insulated correctly — not stuffed with excess spray foam, which can bow a frame out of square, and not left with gaps that leak air and let condensation form inside the wall. This step affects both energy performance and long-term moisture behavior.
Trim and Finish
Exterior trim gets integrated to match the rest of the house, with caulking and paint or stain lines placed so they support the weatherproofing rather than just looking finished. On older craftsman homes especially, matching the existing trim profile is part of doing the job right, not just an afterthought.
Choosing a Frame Material for This Climate
There's no single right answer here — the right frame material depends on the house, the budget, and how exposed the specific opening is. We'll walk through the honest trade-offs for your situation rather than defaulting to whatever's easiest to install.
| Frame Material | How It Handles This Climate | Maintenance |
|---|---|---|
| Vinyl | Handles sustained moisture well, resists corrosion since there's no metal hardware exposed to salt air | Low — no painting, occasional cleaning |
| Fiberglass | Very stable in temperature and moisture swings, holds paint well if a specific color is needed | Low to moderate |
| Wood | Traditional look that fits many older West Seattle homes, but exterior wood needs real upkeep in a wet climate | High — regular painting or staining, more vulnerable to moss and rot if neglected |
| Wood-clad (wood interior, low-maintenance exterior) | Keeps the interior wood look with a more weather-resistant exterior shell | Moderate |
| Aluminum | Strong and slim-profiled, but more prone to condensation and, without a thermal break, corrosion near salt air | Moderate |
For directly exposed, wind-facing walls, we lean toward vinyl, fiberglass, or a well-built wood-clad unit over bare exterior wood or uninsulated aluminum, simply because they hold up to sustained coastal moisture with less ongoing maintenance. That's a judgment based on how these materials behave over years of West Seattle weather, not a knock on wood — a lot of homeowners still want it for the look, and it's a legitimate choice as long as the upkeep is part of the plan.
What Drives the Cost of a West Seattle Window Project
We won't put a number on your project without seeing the opening, but the factors that move price are consistent from job to job.
| Factor | Why It Matters |
|---|---|
| Opening condition | Rot, old failed flashing, or out-of-square framing found during removal adds repair work before the new window goes in |
| Size and glass area | Larger units, including view-oriented picture windows, cost more to manufacture and take more labor to flash correctly |
| Frame material | Vinyl, fiberglass, wood, and wood-clad units differ in both purchase price and long-term maintenance cost |
| Number of windows | A whole-house or multi-window project typically has better per-unit pricing than replacing one window at a time |
| Wall exposure | Directly wind- and rain-exposed elevations often warrant extra flashing detail and labor time |
| Access and site conditions | Upper-story or hard-to-access openings on hillside lots can add labor and equipment cost |
Our Installation Process
- On-site assessment — we look at each opening, check the condition of the existing framing where visible, and note which walls are most wind- and rain-exposed
- Honest recommendation — frame material, whether a full opening rebuild is needed, and a realistic scope, explained with the reasoning behind it
- Written estimate — clear pricing before any work starts, with the cost factors specific to your project spelled out
- Careful removal — old units come out without rushing, so hidden rot or failed flashing gets caught rather than covered over
- Flashing and installation — sill pan, head flashing, and side flashing built in sequence, with extra attention on exposed elevations
- Air sealing and insulation — the gap around the frame sealed correctly for both weather and energy performance
- Trim and finish — exterior trim matched to the house and finished to hold up to King County's wet season
A Checklist Before You Hire Anyone for Window Work
- Confirm they're licensed and insured to do exterior work in Washington, and ask to see it
- Ask specifically how they'll flash the sill and head, not just whether they'll "seal it up"
- Ask what happens if they find rot or old damage once the window comes out — get that answer before, not during, the job
- Get the warranty terms in writing, and ask what's covered on the window unit versus the installation labor, since those are often separate
- Ask whether the crew has worked on wind- and rain-exposed walls in this area before, not just replacement windows in general
- Confirm whether the project needs a permit before work starts, not after
Why Hiring a Crew That Already Works West Seattle Matters
Manufacturer installation instructions are written for average conditions, and West Seattle's direct exposure to Puget Sound isn't average. A crew that's actually flashed openings on wind-facing bluff walls, dealt with the rot that turns up under decades-old wood windows in the neighborhood's older bungalows, and worked through King County's long wet season knows which details in the standard install guide are worth extra time here — and which ones matter less. That judgment doesn't show up in a sales pitch. It shows up years later, in whether the sill stays dry and the sash still latches cleanly, or whether moss and a soft spot in the trim show up sooner than they should have.
If you're dealing with drafty original windows, a replacement that's already failing, or planning new openings for a remodel, it's worth having someone look at the actual conditions on your house before you start comparing quotes. We offer free, no-pressure estimates for window installation in West Seattle and the rest of Seattle and King County — use the form below to get a time on the schedule.