 Seattle Exterior
 Window Installation in Shoreline: Getting the Marine Climate Right From the Start
Shoreline sits right along Puget Sound at the north edge of the Seattle metro area, and the housing stock reflects decades of growth — mid-century ramblers and split-levels from the area's early suburban boom sitting alongside newer infill construction and additions. Whatever the vintage, every window opening in this part of King County has to deal with the same thing: a marine climate that pushes salt-tinged air, sustained wind-driven rain, and a moss and mildew season that can run most of the year against anything that stays shaded and damp. Window installation is where a lot of that long-term performance gets decided, because it's the point where the building envelope has the most seams, the most hardware, and the most chances for water to get in if the work wasn't done correctly the first time.
We handle siding, roofing, windows, and decks for homes throughout Shoreline and the greater Seattle area, and on window jobs we treat the installation method and flashing detail as at least as important as the window unit itself. A high-end window installed with rushed flashing will eventually leak in this climate. A solid, mid-grade window installed correctly — with flashing that actually ties into the surrounding wall assembly — will usually outlast it.
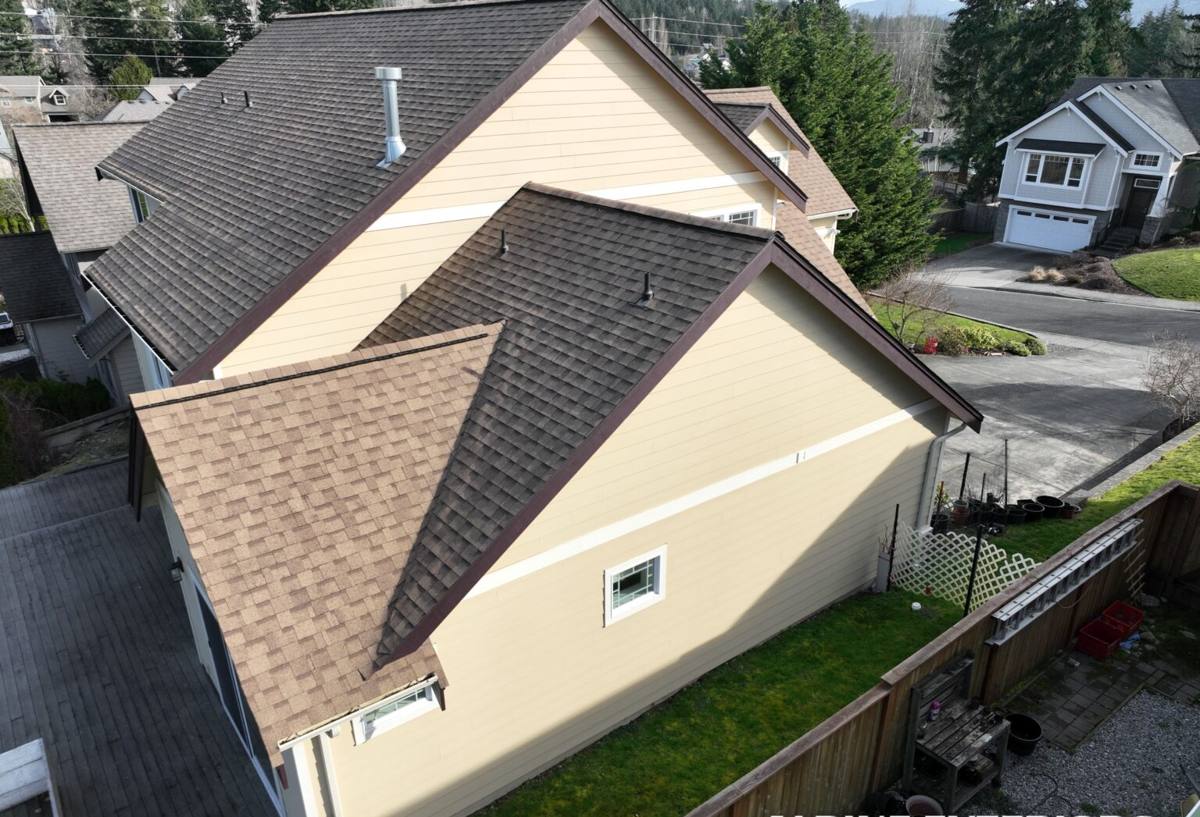
What Puget Sound's Climate Does to a Window Installation Over Time
Wind-Driven Rain and Rough Opening Exposure
Storms off the Sound rarely fall straight down. Wind pushes rain sideways into wall assemblies, which matters most during the window installation itself — the rough opening is briefly exposed to whatever weather shows up on install day, and it stays vulnerable afterward at every seam until flashing, sealant, and siding are fully integrated around the new unit. Rushed installs that skip proper sequencing are where wind-driven rain finds its way in first.
Salt Air and Hardware Corrosion
Shoreline's proximity to Puget Sound means homes here get more sustained exposure to salt-influenced air than inland King County properties. That accelerates corrosion on lower-grade window hardware, fasteners, and frame components. Budget hardware that holds up fine in a dry climate tends to show pitting, stiffness, or seal failure noticeably sooner this close to the water.
Moss, Mildew, and Prolonged Moisture at Sills and Trim
Mild temperatures combined with near-constant fall-through-spring moisture give moss and mildew a long growing season across the region, and window sills, trim, and the framing around older units are prime real estate for it. Anywhere water sits instead of draining away, or anywhere porous trim material stays damp, becomes a growth surface eventually. Shaded elevations and windows tucked under eaves with poor drainage tend to show it first.
Condensation From Temperature Swings
The gap between heated interiors and cold, wet exteriors during a Puget Sound winter puts real condensation pressure on glass and frames. Older single-pane units and early double-pane windows show this constantly — fogging, moisture trapped between panes, or water pooling on interior sills. That's usually a sign of a failed seal or an outdated glazing package, not just a cosmetic nuisance.
Signs a Shoreline Home Is Ready for New Windows
- Fogging or visible moisture trapped between panes on a double-pane window
- Noticeable drafts or cold spots near the frame even with the window fully closed and locked
- Sills or trim that feel soft, look discolored, or show visible rot
- Windows that stick, won't stay open, or are hard to lock the way they used to
- Visible daylight or gaps where the frame meets the siding
- An addition, remodel, or new opening that needs a window installed for the first time
- Paint or finish peeling or bubbling faster on window trim than on the rest of the exterior
Full-Frame vs. Insert Installation: Choosing the Right Method
Not every window installation is the same project. An insert (or "pocket") installation fits a new window into the existing frame, keeping the old frame in place as the mounting surface. A full-frame installation removes the old window down to the rough opening, exposing the framing, sheathing, and weather-resistive barrier underneath. Both are legitimate methods — the right call depends on the condition of the existing frame and what the homeowner is trying to accomplish.
| Factor | Insert Installation | Full-Frame Installation |
|---|---|---|
| Existing frame condition | Requires a sound, square, undamaged frame | Works even when the frame is rotted or out of square |
| Flashing access | Limited — works within the existing flashing | Full access to correct or upgrade flashing and the WRB tie-in |
| Typical cost and timeline | Generally faster and less invasive | More labor since siding and trim come off around the opening |
| Best for | Sound frames where only the window unit has failed | Rotted framing, additions, new openings, or a siding project happening at the same time |
Because Shoreline's marine climate is hard on framing over the decades, we don't assume an insert install is always the cheaper, faster answer. If the framing behind an old window has already taken on water damage, an insert installation just seals a problem behind a new unit instead of fixing it. That's a call we make on-site, not from a sales brochure.
What Correct Installation Involves, Step by Step
- Inspect the rough opening (or existing frame, for insert jobs) for rot, square, and level before anything gets installed
- Install or verify sill pan flashing so any water that gets past the window drains back out, not into the wall
- Integrate side and head flashing with the weather-resistive barrier, lapped in the correct shingle-style order so water sheds outward at every layer
- Set the window plumb, level, and square, then shim and fasten according to the manufacturer's specified pattern — over- or under-fastening both cause long-term problems
- Insulate the gap between the frame and rough opening without overfilling it, which can bow the frame and affect how the window operates
- Seal and trim both the interior and exterior, using sealant rated for sustained moisture exposure rather than a bead of caulk as a stand-in for flashing
- Test operation, locks, and weatherstripping before calling the job done
Flashing and Drainage Plane Integration: The Detail That Determines Performance
We spend more time talking with Shoreline homeowners about flashing than about window brands, because in this climate, flashing is the difference between an installation that stays dry for decades and one that starts leaking within a few wet seasons. On repair and inspection calls in this area, the water damage we find almost never traces back to the window unit failing on its own — it traces back to flashing that was never lapped correctly during installation, or caulk that got used as a substitute for flashing instead of a supplement to it. Caulk alone cracks and breaks down over time. It was never designed to be the only barrier against wind-driven rain off the Sound.
Choosing Windows for a Marine Climate
We install vinyl and fiberglass window systems suited to the Pacific Northwest's wet, mild conditions, and we walk homeowners through the real trade-offs rather than pushing one brand as the universal right answer. What matters most for a Shoreline property is a tight, well-engineered frame, a glazing package that handles both energy performance and condensation resistance, and hardware rated to hold up under sustained marine air exposure.
- Frame material: Vinyl and fiberglass both resist rot in a way uncladded wood frames don't, which matters given how much moisture this region carries through the year. Fiberglass tends to be more dimensionally stable through temperature swings and can be painted later if a homeowner wants a different color down the road.
- Glazing package: Double or triple-pane options with low-E coatings help both energy performance and interior condensation control during cold, damp stretches.
- Hardware grade: Corrosion-resistant hardware holds up longer against Puget Sound's marine-influenced air than standard-grade hardware does — this is one area we don't recommend cutting cost on for a Shoreline property.
- Warranty structure: A manufacturer's product warranty is only as good as the installation behind it. We stand behind our installation work separately from the product warranty, since most window failures we see trace back to installation detail rather than the unit itself.
Cost Factors in a Shoreline Window Installation
Every quote should reflect the actual scope of the job, not just a per-window price. The factors that move a window installation estimate up or down include:
- Installation method: full-frame work costs more than an insert install because it involves removing and replacing siding and trim around the opening
- Number and size of openings: larger units, bay or picture windows, and multi-window jobs all add labor and material
- Condition of the existing framing: rot discovered once the old window comes out adds carpentry work that a clean opening wouldn't need
- Glazing package: triple-pane and specialty low-E coatings cost more than a standard double-pane package
- Access and height: second-story or hard-to-reach openings take more time and equipment than ground-floor windows
- Lead time: custom-sized units built to a specific rough opening typically take several weeks to arrive, which affects scheduling more than cost
We give a written scope and a real number after seeing the job in person — window pricing that's quoted sight-unseen over the phone usually leaves out at least one of these factors.
How We Handle a Shoreline Window Project
Our Process
We start with an on-site look at the existing windows or openings — checking frame condition, current flashing, and how the opening ties into the surrounding siding. From there we give a straightforward read on installation method, a written scope, and realistic timing before any work begins. Flashing and drainage detailing are handled as standard practice on every job, not offered as an optional upgrade. Once windows are ordered, install day covers removal, opening prep, flashing integration, setting and sealing the unit, and interior and exterior trim, followed by a function check on every window before we call it finished.
Why a Local Crew Matters
A contractor who works Shoreline and the rest of the Seattle area regularly already knows how wind-driven rain and salt air behave this close to Puget Sound compared to a drier, more sheltered climate. That shows up in the small decisions — how much lap a flashing detail gets, whether caulk gets treated as a real seal or just a backup, which hardware grade gets specified for a given exposure — and those decisions are what actually determine whether an installation holds up for one wet winter or several decades. It also means fewer surprises around permitting and realistic scheduling through King County's wetter months.
Before You Hire: A Quick Checklist for Window Installation in Shoreline
- Ask specifically how they handle flashing and drainage plane integration, not just which window brand they sell
- Confirm current Washington contractor licensing and active liability insurance
- Get a written scope that specifies full-frame or insert installation and separates the product warranty from the installation warranty
- Ask how they'll handle framing repairs if rot is found once the old window comes out
- Ask about lead times — custom window orders for this region can run several weeks depending on size and configuration
If you're planning new windows for a Shoreline home — whether it's a straightforward replacement, a full-frame job on an older opening, or windows for an addition — we're happy to take a look and give you an honest, no-pressure read on the right approach. Reach out below for a free estimate.