 Seattle Exterior
 New-Construction Windows, Done Right From the Rough Opening
"New-construction" windows aren't a product category so much as a method. These are windows installed with a nailing flange, set into a rough opening before the siding or exterior finish goes on, and flashed directly into the home's weather-resistive barrier (WRB) as part of the building envelope. That's different from a replacement or "pocket" window, which gets fit into an existing frame on a house that's already finished and weathertight. On a new build in Kirkland, the window install is happening at the same time as framing inspections, house wrap, and rough plumbing and electrical — which means the sequencing and the flashing details matter as much as the window itself.
We work new-construction jobs for builders and homeowners across the Eastside and King County, and Kirkland gets its share of new builds, additions, and teardown-rebuilds close to Lake Washington and in the older, tree-covered neighborhoods further from the water. The window package on those jobs has to hold up to decades of Pacific Northwest weather before anyone even notices a problem, because window flashing failures don't usually show up as a leak on day one — they show up as rot in the sheathing three or five years later.
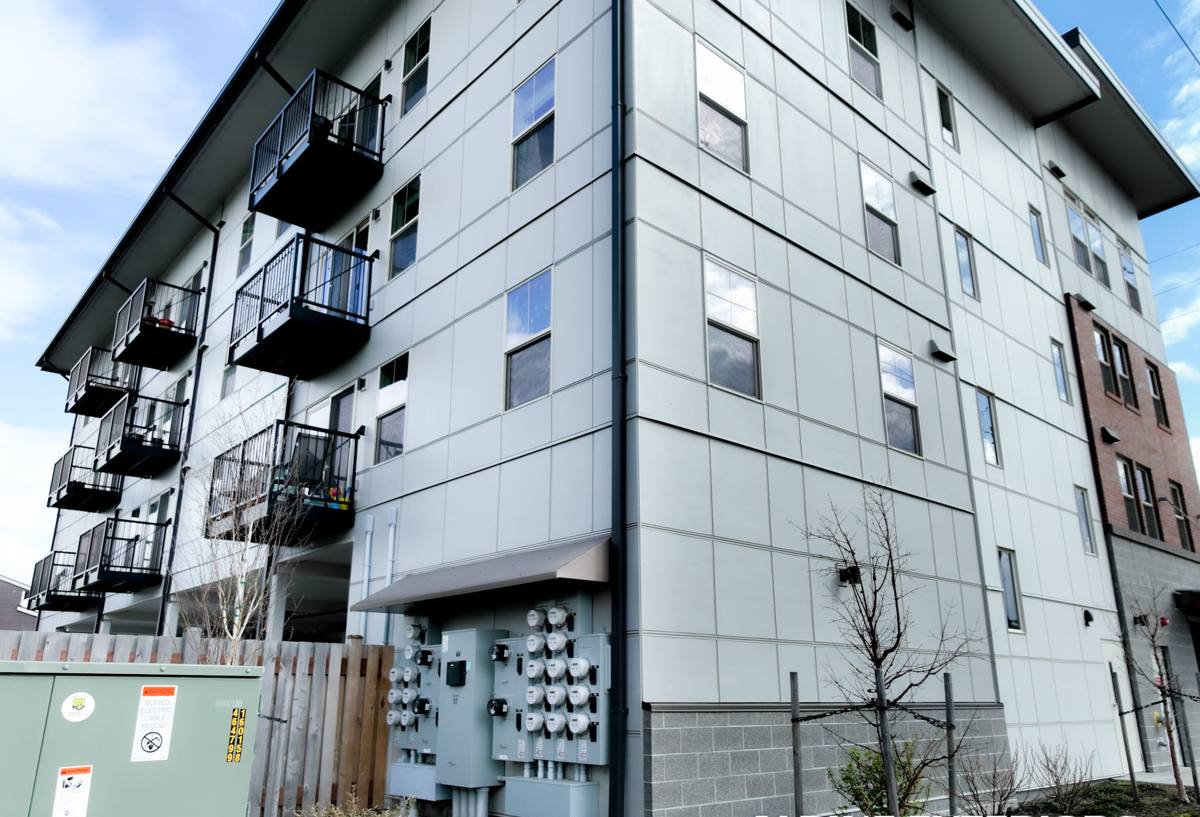
What Kirkland's Climate Actually Demands From a Window Install
Kirkland sees a lot of the same weather as the rest of the Puget Sound region: long, wet winters, driving rain that comes in sideways during windstorms, and heavy tree cover in a lot of established lots that keeps roofs, siding, and window trim shaded and slow to dry. That combination is what drives moss and algae growth on north-facing walls and anywhere sun doesn't reach for most of the year. It's also what makes a marginal flashing job fail slowly instead of obviously — water finds the path of least resistance and it's usually behind the trim, not in front of it.
- Driving rain: Wind-driven rain off Puget Sound and Lake Washington pushes water sideways against window openings, which is why sill pan flashing and proper head flashing lap sequencing aren't optional here.
- Shade and moisture retention: Mature tree canopy common in Kirkland's older neighborhoods keeps window trim and siding damp longer after storms, which shortens the life of any sealant or finish that isn't detailed correctly the first time.
- Moss and organic growth: A long wet season means moss and algae get a real foothold on shaded trim and sills if drainage paths aren't built in from the start.
- Freeze-thaw swings: Not extreme here, but cold snaps do happen, and any water trapped behind flashing or in a sill pan will find the weak point when it freezes.
None of this is exotic. It's ordinary Pacific Northwest building science. But it means a new-construction window package built for a drier climate — or installed by a crew that doesn't normally work in this kind of weather — tends to leave out details that don't matter in Arizona but matter a great deal here.
What a Correct New-Construction Window Install Actually Involves
The window unit itself is maybe a third of the job. The rest is the flashing and sequencing around it, and it has to happen in the right order:
- Rough opening check: Confirm the opening is square, plumb, and sized correctly with the right rough opening tolerance for the window's nailing flange.
- Sill pan flashing: A sloped, sealed pan under the sill so any water that gets past the window has somewhere to go — outward, not down into the wall cavity.
- WRB integration: The house wrap or building paper gets cut and lapped so water sheds over the top of the flashing at every layer, shingle-style, from the bottom up.
- Window setting and fastening: The unit is set into the opening, checked for level and square, and fastened per the manufacturer's schedule — this affects both function and warranty.
- Flange flashing and head flashing: Side and head flashing tape or flashing material laps correctly over the layers below it so water always moves down and out, never in.
- Sealant and backer rod: Interior and exterior sealing where required by the manufacturer's install instructions, not just a generic bead of caulk around the perimeter.
- Final trim and inspection: Exterior trim goes on after flashing is confirmed watertight, and the work should hold up to a jobsite inspection before siding closes it in for good.
The most important thing about this sequence is that nearly every step of it gets covered up by the next step. A rushed or out-of-order install looks identical to a correct one once the siding is on — the difference only shows up later, in the wall.
Choosing Window Products for a Kirkland New Build
We install to the specifications of whatever window line a builder or homeowner has already selected, and we're happy to walk through the trade-offs on frame material if you're still deciding. There's no single "best" frame material — each comes with a different maintenance and moisture profile, which matters more here than in a dry climate.
| Frame Material | Moisture Behavior | Maintenance | Typical Fit |
|---|---|---|---|
| Vinyl | Won't rot; performs well in wet climates | Low — no painting or sealing needed | Budget-conscious new builds, rentals, spec homes |
| Fiberglass | Very stable, minimal expansion/contraction, good moisture resistance | Low | Higher-end new construction, larger openings |
| Wood-clad | Interior wood needs the exterior cladding to stay fully intact to avoid moisture intrusion | Moderate — exterior is low-maintenance, interior wood should be kept finished | Custom homes prioritizing interior wood appearance |
| Aluminum | Conducts cold and can condense in our wet, cool winters if not thermally broken | Low, but thermal break quality matters a lot here | Modern/contemporary designs, larger glass spans |
Whatever material you land on, the flashing and installation details matter more to long-term performance than the frame material choice itself. A well-installed vinyl window will outlast a poorly flashed premium window every time.
Our Process, Start to Finish
For new-construction work we coordinate directly with the builder's schedule, since window install has to happen at a specific point between house wrap and siding.
- Plan review: We confirm window schedule, rough opening sizes, and manufacturer install instructions before anything shows up on site.
- Pre-install walkthrough: Check rough openings against the plan and flag anything out of tolerance before we start setting units.
- Install and flash: Each window is set, flashed, and sealed to manufacturer spec, in the sequence above.
- Photo documentation: We document flashing details before they're covered by siding, so there's a record of what's behind the finish.
- Final check: Every unit gets checked for operation, seal, and square before we sign off, ahead of siding crews closing things in.
Mistakes We See on Other New-Construction Jobs
Most of the callbacks we get on new-construction window issues trace back to a handful of repeat problems, not bad windows:
- Reverse-lapped flashing: House wrap or flashing tape installed so water runs behind the layer below it instead of over it.
- Missing or flat sill pans: No sloped drainage path under the sill, so any water that gets in has nowhere to go but down into the framing.
- Caulk used as a flashing substitute: Sealant has a service life; it's a backup, not a replacement for correctly lapped flashing.
- Fastening errors: Over-driven or under-driven fasteners that distort the frame and affect long-term operation and seal.
- Trim installed before flashing is verified: Once trim and siding go on, nobody checks the flashing again — mistakes get built in permanently.
Cost Factors for New-Construction Window Installation
New-construction window costs are driven more by the number and size of openings and the complexity of the flashing details than by brand alone. Rough, honest ranges depend heavily on your specific plan set:
| Factor | Why It Moves the Price |
|---|---|
| Number and size of openings | More openings and larger spans mean more flashing detail work and labor time |
| Frame material | Vinyl, fiberglass, wood-clad, and aluminum carry different unit costs |
| Wall assembly complexity | Rainscreen assemblies, deep window bucks, or unusual siding transitions add labor |
| Access and staging | Sloped lots or tight Eastside building sites near Lake Washington can slow staging and material handling |
| Coordination with other trades | Tight builder schedules with multiple trades on site in sequence require more planning time |
We're glad to walk your plan set and give you a real number rather than a rule of thumb — every new build is different enough that a generic per-window price doesn't tell you much.
Why a Crew That Already Works Kirkland Jobsites Matters
New-construction window work isn't just about the install — it's about fitting into a builder's schedule, passing the inspections King County and local jurisdictions require at framing and weatherization stages, and understanding what this specific climate does to a wall assembly over time. A crew that's already worked Kirkland and the broader King County area knows the inspection expectations, has already seen how the weather here behaves against a job site through a wet season, and isn't learning those lessons on your project. That familiarity shows up as fewer surprises, fewer callbacks, and a job that holds up the way it's supposed to once the walls are closed in.
After Move-In: A Quick Owner Checklist
Once your home is finished, a few simple habits keep new-construction windows performing the way they were installed to perform:
- Walk the exterior each fall and check that weep holes and drainage paths at window sills aren't blocked by debris or moss.
- Keep gutters and downspouts clear so roof runoff isn't sheeting down over window heads.
- Watch for any soft spots in trim or paint bubbling near window corners — early signs worth a quick look, not a wait-and-see.
- Re-caulk exterior sealant joints per the manufacturer's recommended interval, since sealant is a maintenance item, not a permanent one.
- Keep an eye on shaded, north-facing windows for moss buildup given how much tree cover and cloud cover this area gets through the wet season.
If you're planning a new build or addition in Kirkland and want the window package done right the first time, we're happy to look at your plans and walk the site with you. Reach out for a free, no-pressure estimate using the form below — no obligation, just an honest look at what your project needs.