 Seattle Exterior
 New-Construction Windows in Redmond: What "Doing It Right" Actually Means
Redmond sits in the thick of King County's building boom — new builds, additions, and full teardown-rebuilds are common across the Eastside. When you're framing a new opening or building from the ground up, you have one advantage a remodel never gives you: access to the raw stud opening, the housewrap, and the sheathing before anything is closed in. New-construction windows are designed to take advantage of that access, using a nailing flange that gets integrated directly into the wall's water-resistive barrier. Done correctly, this is the most weathertight window installation method available. Done poorly, it's also one of the easiest ways to build a hidden moisture problem into a brand-new house.
We install new-construction windows across Redmond and the greater Seattle area, working directly with builders, GCs, and homeowners managing their own new-build projects. This page covers what the job actually involves, what our climate demands from the installation, and what to look for in a crew doing this work on your project.
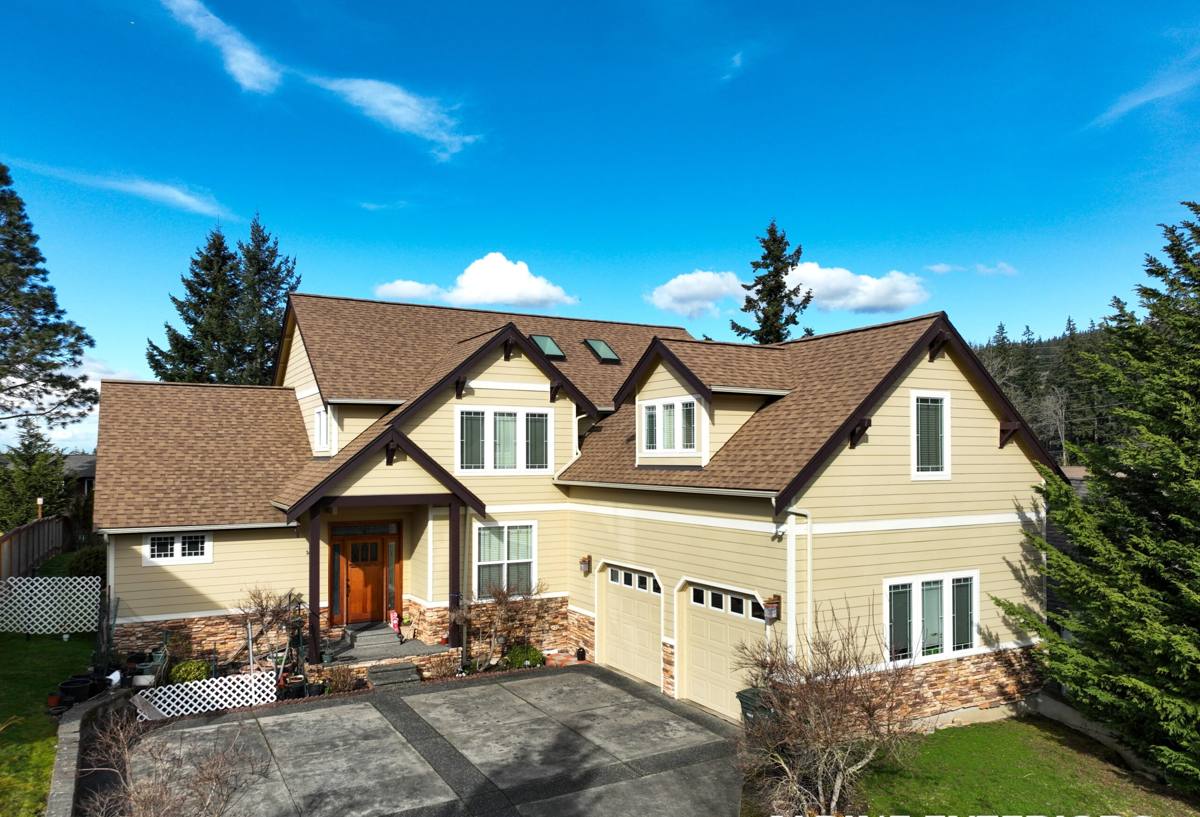
Why Redmond's Climate Changes the Installation Details
Redmond doesn't get direct salt air the way waterfront King County neighborhoods do, but it shares the same defining regional pattern: long stretches of driving rain from fall through spring, persistent damp shade under mature tree cover, and a moss season that runs longer here than in most of the country. None of that is dramatic weather — no hurricanes, no hail events — but it's relentless. A window installation that's "good enough" for a drier climate will show its weaknesses here within a few wet seasons, usually as a slow leak that doesn't announce itself until there's staining, soft trim, or a musty smell in a wall cavity.
What this means for a new-construction install, specifically:
- The nailing flange and flashing sequence has to shed water downward and outward at every layer, with zero shortcuts, because the house will see rain on more days than not for months at a stretch.
- Sill pans are not optional. Any water that does get past the glazing or frame needs a dedicated path back out, not a chance to sit against bare sheathing.
- Sealant choices matter more here than in dry climates — the wrong sealant chemistry against certain flashing tapes or claddings can fail years before it should, right when you can't see it happening.
- North- and west-facing walls, and anything under tree canopy, need extra attention to flashing laps since they stay damp longest and support moss and algae growth on adjacent trim and siding.
New-Construction vs. Replacement Windows: Why the Distinction Matters
These are genuinely different products and different jobs, and mixing them up leads to bad outcomes on a new build.
| Factor | New-Construction Window | Replacement (Pocket) Window |
|---|---|---|
| Flange | Nailing fin around the perimeter, fastened to sheathing | No flange; frame fits inside existing opening |
| Best used when | Framing is open, sheathing and WRB are exposed | Existing window is being swapped and siding stays intact |
| Flashing integration | Flashing tape and housewrap laid directly over the flange | Relies on the existing wall's flashing, which isn't touched |
| Weathertightness ceiling | Highest achievable — full control of the water path | Good, but limited by what's already in the wall |
| Typical use in Redmond | New builds, additions, full re-frames | Window swaps on existing homes with siding intact |
If your project is a genuine new build or a framed addition, new-construction windows are almost always the right call — you'd be giving up their advantages by using a pocket window in an open stud bay. We'll tell you honestly if your situation actually calls for the other type.
What a Correct New-Construction Install Involves
The Flashing Sequence
This is the part that determines whether the window performs for thirty years or leaks in three. The order matters and skipping steps is where most installation failures start:
- Sill pan flashing installed first, sloped or built to drain outward, before the window ever goes in the opening.
- Window set into the opening, checked for level, plumb, and square — not just tacked in place.
- Nailing flange fastened per the manufacturer's schedule, not "close enough."
- Jamb flashing applied up both sides, over the flange.
- Head flashing installed last, integrated so it laps over the jamb flashing and directs water out and away from the head of the window — never taped in a way that traps water behind it.
- Housewrap integrated back over the flashing in the correct shingle-lap order so every layer sheds water to the one below it.
Fastening and Sealant
Manufacturers specify fastener type, spacing, and location for a reason — it's tied to the window's structural and warranty performance. We follow that schedule rather than "whatever's fastest." Sealant gets used at specific points in the assembly, not smeared everywhere as a catch-all; over-sealing can actually trap water in places it needs to drain from.
Air Sealing and Insulation
The gap between the window frame and the rough opening needs low-expansion foam or backer rod and sealant — enough to stop air infiltration without bowing the frame out of square. This affects both energy performance and how well the window operates for years afterward.
Our Process for Redmond New-Construction Projects
We work as a trade partner to builders and directly with homeowners overseeing their own new construction.
- Plan review: we look at window schedules and rough opening sizes before installation day so there are no surprises on site.
- Coordination with framing and WRB timelines: new-construction windows have to go in at the right point in the build sequence — too early or too late and the flashing integration suffers.
- Manufacturer-spec installation: flashing, fastening, and sealant applied per the window manufacturer's published instructions, which is what keeps the product warranty intact.
- Photo documentation at flashing stage: since sill pans and jamb flashing get covered up by the time the wall is finished, we document the water-management layers while they're still visible.
- Final check: every window operates smoothly, seals fully, and is squared before we call the job done.
Choosing Materials for This Climate
We install a range of window lines and frame materials — vinyl, fiberglass, and wood-clad — and we'll talk through the honest trade-offs for your project rather than pushing one product. A few things worth knowing going in:
- Fiberglass and vinyl frames handle King County's constant damp-dry cycling with minimal maintenance, which matters if you don't want to be repainting trim every few years.
- Wood-clad windows look great and perform well, but the exposed wood interior needs occasional attention, and any cladding seam is a spot to keep an eye on over time.
- Glazing packages matter more here than the marketing suggests — a good low-E, double- or triple-pane unit earns its keep through Redmond's long gray winters by cutting heat loss, not just blocking summer sun.
- We're selective about which products we'll install because installation sensitivity varies — some window lines have tighter tolerances for flashing and shimming, and we'd rather steer you toward a product we can install correctly every time than one that looks good on paper but is a headache to get watertight in the field.
What to Ask Before Hiring a Window Crew for New Construction
New-construction window installation gets covered up fast — once the siding and interior finishes go on, nobody can see whether the flashing was done right. That makes hiring the right crew more important than it might seem.
| Question | Why it matters |
|---|---|
| Do you follow the manufacturer's specific flashing instructions, or a generic method? | Manufacturer instructions are tied to product warranty; generic methods may void it |
| Will you photo-document the flashing before it's covered? | It's the only record of work that becomes invisible once the wall is closed up |
| Have you worked on new-construction projects in this area before? | Local crews already understand our rain patterns and inspection expectations |
| Who handles it if a window arrives damaged or out of square? | Clarifies responsibility before it becomes a scheduling problem |
| What's your fastener and sealant schedule? | Reveals whether they're following spec or working from habit |
Timing on a New Build
Windows typically go in after the home is fully framed, sheathed, and wrapped, and before siding starts — this is the point where the rough openings are stable and the water-resistive barrier is ready to receive the flashing. On active job sites we coordinate directly with your GC or framing crew to hit that window in the schedule. If you're managing the build yourself, we can walk you through where window installation fits relative to your other trades.
Get an Estimate for Your Redmond Project
Whether you're a GC lining up a trade partner or a homeowner overseeing a new build in Redmond, we're glad to walk the plans or the site and give you a straight answer on scope, timeline, and cost. Reach out for a free, no-pressure estimate using the form below.