 Seattle Exterior
 Why Queen Anne's Position on the Hill Matters for Siding
Queen Anne sits high above the rest of Seattle, and that elevation is exactly what makes it a demanding place for exterior siding. Homes up here catch wind that lower neighborhoods never see, along with salt-laden air pushed inland off Puget Sound and Elliott Bay. Add in Seattle's long stretch of driving rain each fall and winter, plus a moss season that can run from October well into spring, and you have a climate that is genuinely harder on siding than the citywide average. A product or installation detail that holds up fine in a sheltered valley lot somewhere else in King County can fail years earlier on an exposed Queen Anne facade.
This isn't a reason to panic about your siding. It's a reason to be specific about what "correct" looks like for this neighborhood, rather than treating siding replacement as a one-size-fits-all job.
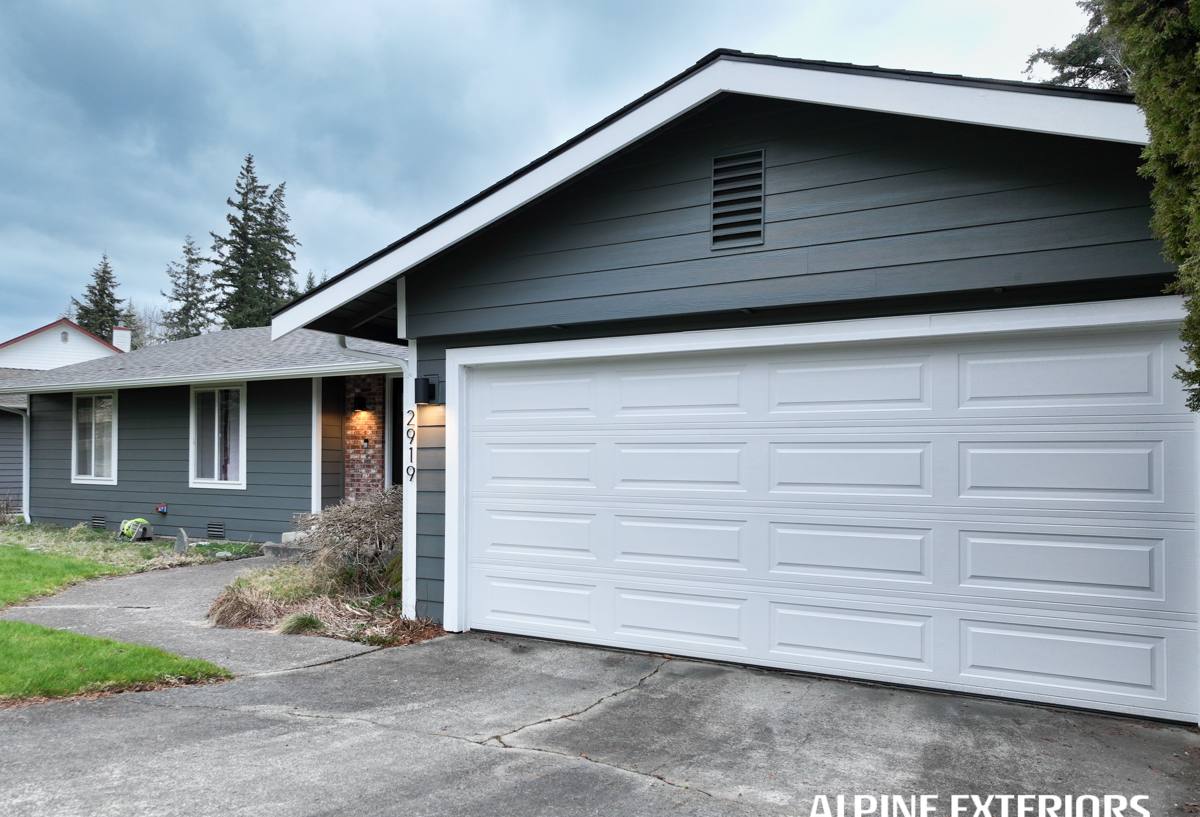
What Salt Air, Rain, and Moss Actually Do to Siding
Salt Air and Wind Exposure
Homes with west- and southwest-facing exposure toward the water take the brunt of salt-carrying wind. Over years, that air accelerates the breakdown of paint films, corrodes fasteners and trim hardware that aren't rated for it, and works into any small gap in the siding's outer layer. Wood-based siding and lower-grade composites are especially vulnerable because once moisture and salt get past the surface, the material underneath has no real defense.
Driving Rain
Seattle rain is rarely a straight-down drizzle during a real storm — on an exposed hill like Queen Anne, wind pushes it sideways and up under laps, trim, and butt joints. Siding systems depend on correct overlap, flashing, and a drainage plane behind the cladding to handle this. When those details are missing or done wrong, water finds its way behind the siding long before anyone notices a problem on the surface.
Moss and Sustained Dampness
Queen Anne's tree cover and shaded north- and east-facing walls stay damp for long stretches of the year, which is exactly what moss and mildew need to take hold. On porous or absorbent siding materials, sustained dampness also means sustained expansion and contraction — a slow cycle that loosens fasteners, opens seams, and shortens the useful life of paint and caulk.
Why Queen Anne's Housing Stock Adds Its Own Challenges
Queen Anne has a lot of older homes — Craftsman bungalows, Tudor-influenced houses, and early-to-mid-century construction, many still wearing original or long-since-repainted wood siding. That's part of the neighborhood's character, but it also means a lot of the existing siding was never designed for a 60-, 80-, or 100-year service life. When we're called out for a siding replacement here, we're frequently dealing with:
- Original wood siding that has been painted over repeatedly, hiding rot until it's advanced
- Narrow lots and steep grades that limit staging area and require careful planning for scaffolding or lift access
- Multiple exposure faces on the same home — a sheltered side that's held up fine next to a wind-and-rain-battered side that's failing
- Older sheathing and framing behind the siding that needs an honest inspection once the old material comes off
None of that is a reason to avoid the work — it's a reason to have it done by a crew that inspects thoroughly and doesn't just re-clad over problems that should be addressed first.
What a Correct Siding Replacement Actually Involves
Siding replacement is not just swapping old panels for new ones. Done right, it's a system, and every layer matters:
Full Tear-Off and Substrate Inspection
We remove the existing siding down to the sheathing so we can actually see what's there — soft spots, old water staining, insect damage, or framing that needs repair. Skipping this step and installing over questionable substrate is one of the most common shortcuts in this trade, and it's the one that causes the most expensive problems years later.
Weather-Resistive Barrier and Flashing
A correctly installed drainage plane and properly lapped flashing around windows, doors, and roof intersections is what actually keeps wind-driven Seattle rain out of the wall assembly. The siding itself is the visible layer — the barrier behind it is what does the real work during a storm.
Fastening and Layout to Spec
Manufacturer installation instructions specify fastener type, spacing, and clearances for a reason — those specs are engineered around real wind and moisture loads. On an exposed hill lot, cutting corners here shows up faster than it would in a sheltered location.
Why We Install Only James Hardie Fiber Cement
We made a deliberate decision to install James Hardie fiber cement siding exclusively, and we don't install LP SmartSide, vinyl, Cemplank, Allura, primed spruce, or cedar. Each of those products has real strengths — cedar looks great, vinyl is inexpensive, LP SmartSide is easier to handle on some jobs — but each also comes with trade-offs that matter more on a climate-exposed Queen Anne home than they might elsewhere.
Wood and wood-based composites are organic materials that absorb moisture; in a neighborhood with a long moss season and sustained damp shade, that means an ongoing maintenance commitment to keep them sealed and painted. Vinyl is low-maintenance but flexes and can warp or crack under UV and temperature swings, and it doesn't offer the same fire performance. Fiber cement alternatives to Hardie can be reasonable products, but we've standardized on Hardie specifically for its factory-baked ColorPlus finish, its HZ5 formulation engineered for wetter, harsher climates, and the strength of its transferable warranty when the job is installed to spec.
| Factor | Wood / Cedar | Vinyl | James Hardie Fiber Cement |
|---|---|---|---|
| Moisture behavior | Absorbs; needs sealing and repainting | Doesn't rot but can warp/crack | Engineered resistance to moisture-related damage |
| Fire performance | Combustible | Combustible | Non-combustible core material |
| Finish maintenance | Repaint every few years | Fades, can't easily repaint | Factory ColorPlus finish, long repaint interval |
| Warranty structure | Varies, often material-only | Varies by manufacturer | Strong transferable warranty on the finish and substrate |
Our Process for a Queen Anne Siding Replacement
Every home is different, but our process on the hill follows the same disciplined order every time:
- On-site inspection — we walk the full exterior, note exposure differences wall by wall, and check for signs of moisture intrusion at trim, windows, and grade level.
- Plan and product selection — we recommend the Hardie plank profile, exposure, and color line suited to the home's style and the specific wind/moisture exposure of each elevation.
- Site logistics — on narrow Queen Anne lots and steep driveways, we plan staging, material delivery, and debris removal before work starts, not on the fly.
- Tear-off and substrate repair — old siding comes off, sheathing and framing are inspected and repaired as needed before anything new goes up.
- Weather barrier and flashing installation — this happens before a single piece of new siding is hung.
- Hardie installation to manufacturer spec — correct fastening, clearances, and caulking at every joint and penetration.
- Final walkthrough — we review the finished work with the homeowner and go over basic care going forward.
Why Hiring a Crew That Already Works Queen Anne Matters
A crew that hasn't worked this neighborhood before will underestimate a few things: how tight some lots are for equipment and material staging, how steep certain driveways and street grades get, and how much more aggressively wind and moss behave on a home 300-plus feet above the water compared to one down in a sheltered part of the city. A crew that already knows Queen Anne plans for these realities from the first estimate instead of discovering them mid-project — which is what actually keeps a job on schedule and on budget.
Local experience also means familiarity with Seattle's permitting expectations and an eye for the kind of older-home surprises — legacy wiring near the wall cavity, non-standard framing, prior patch jobs — that are common in a neighborhood with this much older housing stock.
Cost Factors for Siding Replacement in Queen Anne
We don't publish blanket per-square-foot pricing because it varies too much project to project, but the real cost drivers are consistent:
| Factor | Why It Affects Cost |
|---|---|
| Home size and wall area | More material and labor, straightforward scaling |
| Existing siding removal | Multiple old layers or hazardous materials add labor time |
| Access and site conditions | Steep lots, narrow streets, and limited staging space slow logistics |
| Substrate repair needs | Rot or framing damage found during tear-off adds scope |
| Height and elevation | Multi-story or view homes may need lift or scaffold work |
| Siding profile and trim detail | Board-and-batten, shingle-look panels, and detailed trim take more time than plain lap siding |
Signs Your Queen Anne Home May Need Siding Replacement Soon
- Paint that's peeling, bubbling, or needs repainting more often than every 5-7 years
- Soft or spongy spots when you press on the siding, especially near the bottom courses
- Persistent moss or dark staining that comes back soon after cleaning
- Visible warping, cupping, or gaps opening up at seams and corners
- Rising energy bills that suggest the wall assembly is no longer sealing properly
- Siding that's simply original to a home built decades ago and has never been replaced
If any of that sounds familiar, it's worth getting a professional look before small issues become structural ones. We're happy to walk your home, point out what we see, and put together a free, no-pressure estimate for a siding replacement built for Queen Anne's specific climate — no obligation either way.